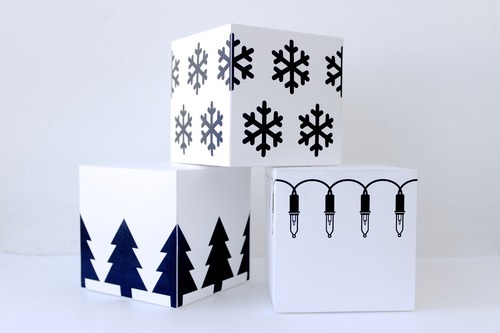
Get into the holiday spirit with this fun (and easy!) DIY project. All you need is a printer, glue, a precision knife (or scissors) and a steady hand. The final product can be used as a small gift box or piece of home decoration particularly great for lovers of design minimalism. These boxes are perfect for making your home and desktop more festive without going overboard (so you can put down the tinsel).
You will need:
- Free Templates on Google Slides or Figma
- Cardstock (80 lb)
- Precision knife or scissors
- Straight edge
- Glue (stick form works best)
How to Make a DIY Holiday Gift Box
- Open our templates on Google Slides or Figma
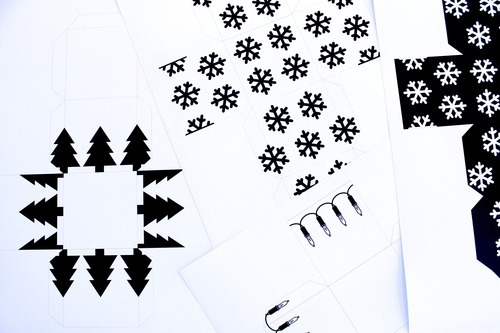
- Arrange your own icons on the boxes or use one of our designs.
- Export the chosen page as a PDF to print.
- Print out your templates on thick paper or cardstock for best results. We printed our templates at a shop on 11″ x 17″ 80 lb. cardstock to give these boxes more heft.

Cut
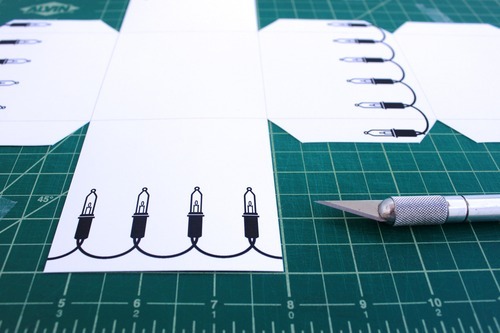
- Cut along the outside edges of the template using a precision knife and a straight edge for more accurate results. Scissors will work too.
- Use a precision knife to lightly score the inside lines of the template. Be careful not to score too hard or else the tabs will come off.


Glue
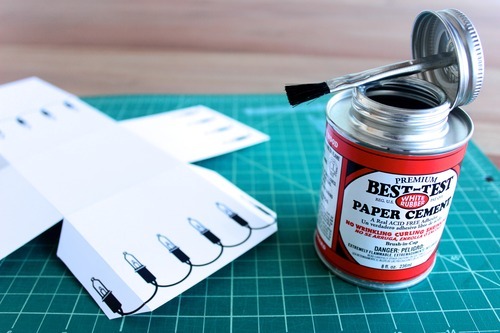
- Bend all the edges of the box and carefully glue the tabs to the backside of the box walls. We used rubber cement because it’s a fast & strong adhesive.
- DO NOT glue the top flap If you intend to use these as gift boxes.


Photograph
- We want to see your final creations! Take a picture of your finished boxes and share them with us @nounproject on Twitter and Instagram.


Looking for more holiday DIY inspiration?
Check out our other holiday craft ideas or how to make custom apparel with icons using Zazzle.


