

Coloring is a simple and fun activity that keeps kids entertained and provides some long-lasting benefits for their development. Winter months typically mean spending more time indoors and coloring is a great way to stay occupied.
Using Noun Project icons, you can easily create and customize your own coloring book for kids of all ages. For this tutorial, we’ll be using Noun Project’s Mac App and Google Slides, but you can recreate these steps using the presentation or word processing program of your choice.
To create your alphabet coloring book:
First, open Google Slides. Select “Blank” from the “Start a new presentation” menu.
Next, delete the pre-populated text boxes from your slide. Then, navigate to File> Page Setup, select “Custom” from the drop-down menu and adjust the slide size to 11 x 8.5 inches.
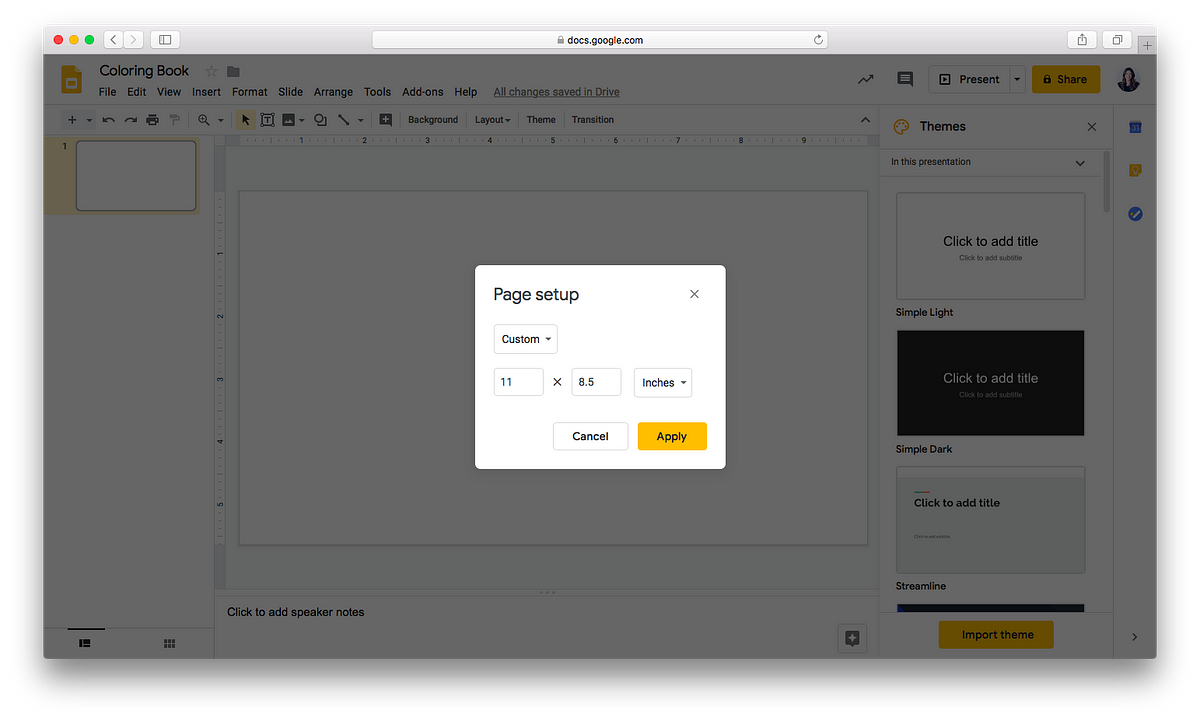
Change the size of your slide to 11″ x 8.5″ to match the size of the paper you’ll be using to print your coloring book.
After you’ve adjusted your page size, select the “Line” tool and insert a vertical line at the 5 1/2″ mark using the ruler at the top of the page as your guide. This will be your cutting line when it’s time to assemble your coloring book.
Tip: Hold the Shift key while drawing your line to ensure it’s straight.
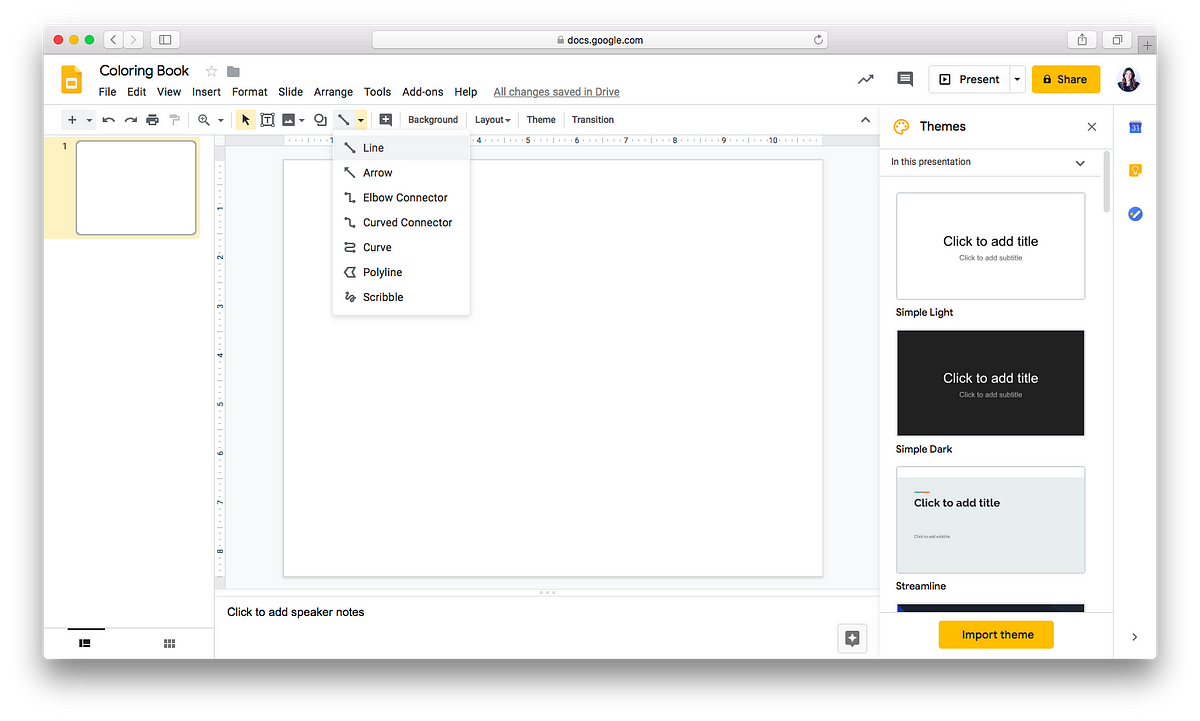
Use the Line tool to create a straight line at the 5 1/2″ mark (the middle) of your page
Use the Line tool to create a straight line at the 5 1/2″ mark (the middle) of your page
Next, select the line you just added, click the “Line Dash” tool and select the dotted line option. Then, click the “Line Color” tool and select a light gray color from the color menu. This will help make sure no remnants of your line are visible after you cut your coloring book pages for assembly.
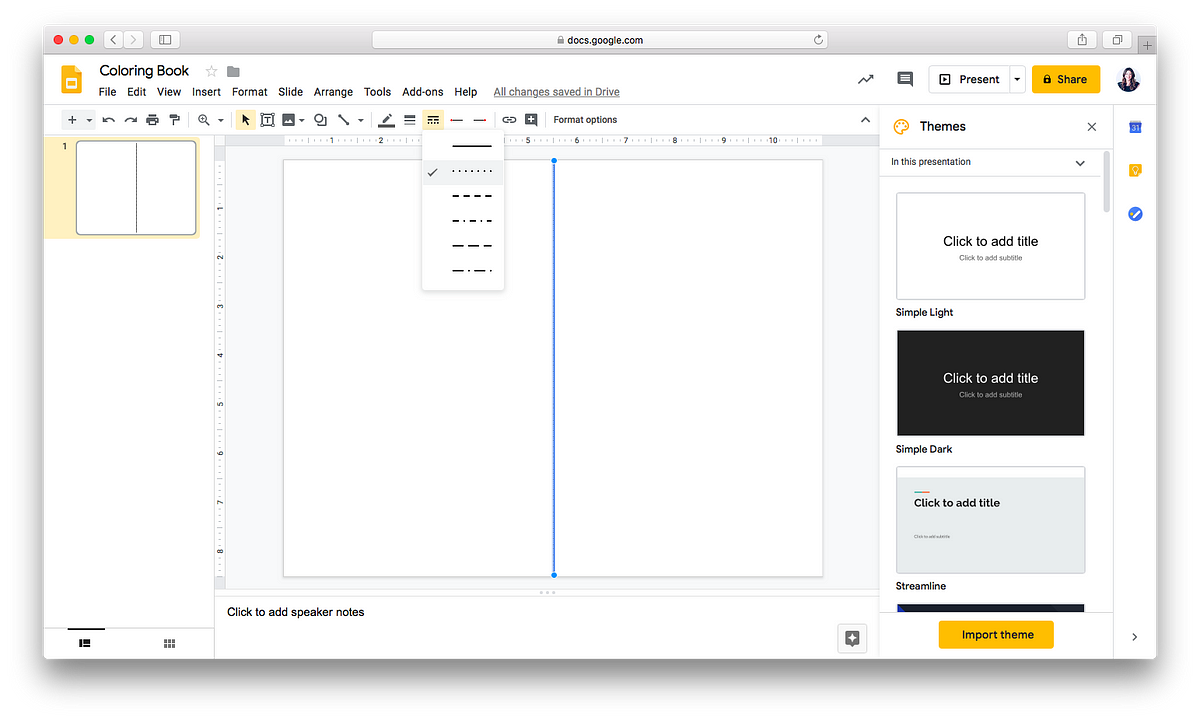
Make the line dotted.
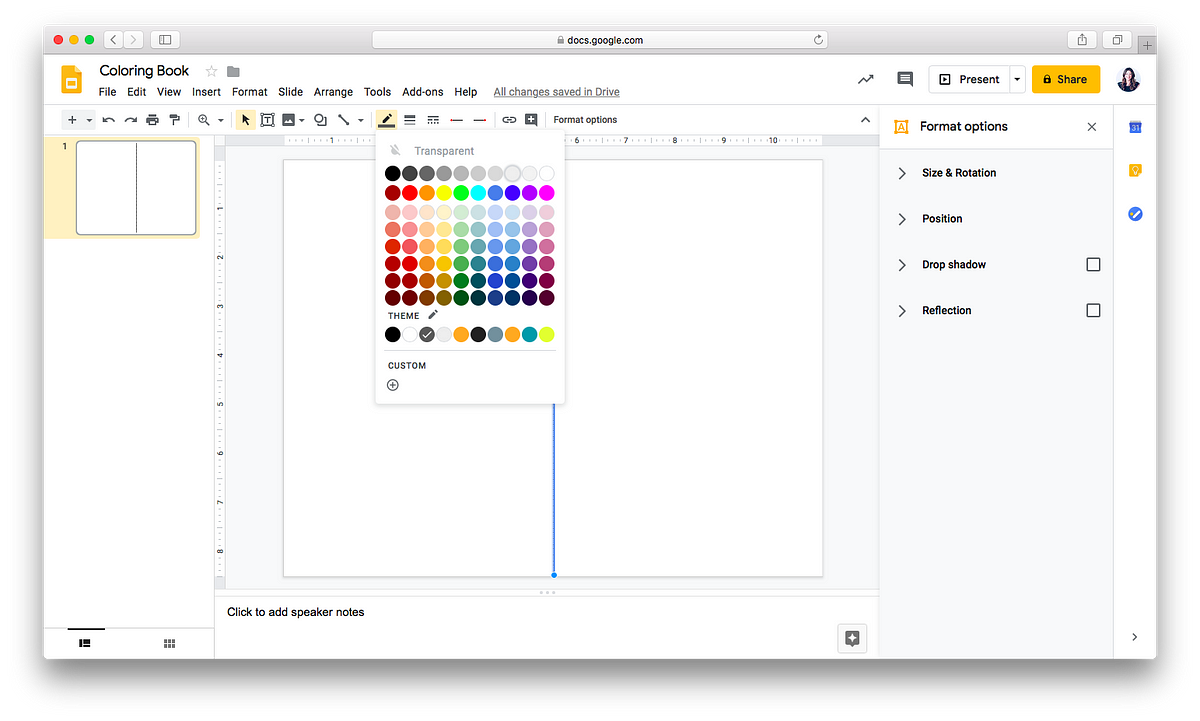
Then change the line’s color to light gray so remnants of the line don’t appear on your final pages after cutting.
Once you’ve added and formatted your line, click the “Insert” menu and select “Text box.” You’re going to add a text box to the upper right hand corner on the left side of your center line.
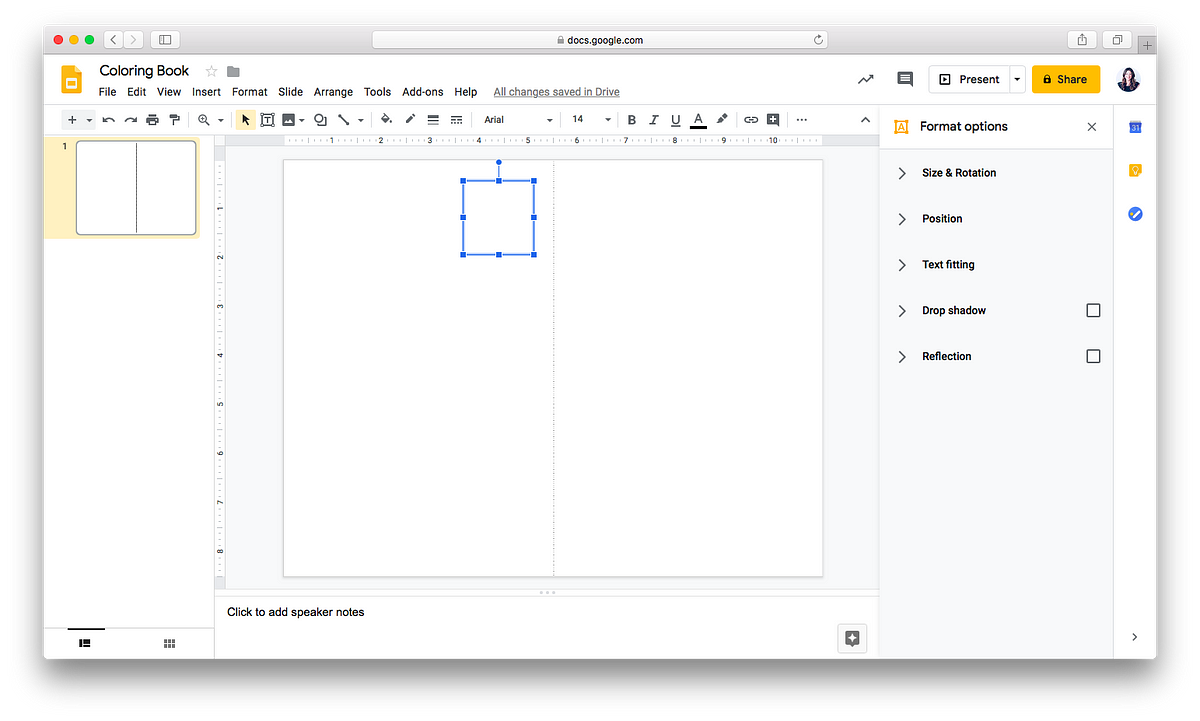
Create your first text box. This is where the letters for each page will live.
Next, type the letter “A” into your text box, align the letter in the center of the box, and adjust the letter size to 72pt.
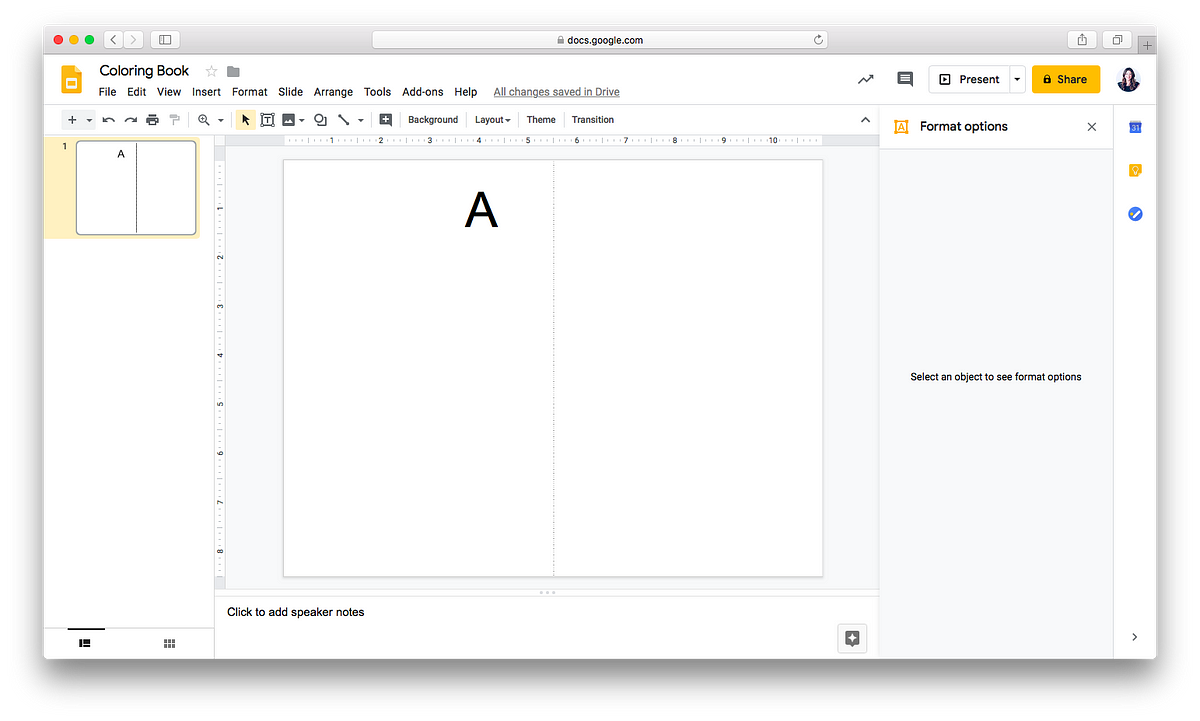
Insert your letter, center your letter in the text box and change the font size to 72pt.
Then, add another text box to the bottom of the page and center it on the left side of your dotted line. Enter the word you’d like to use for the letter “A.” For this example, we’ll use “Astronaut.” Center the word in the text box and change the font to size to 24pt.
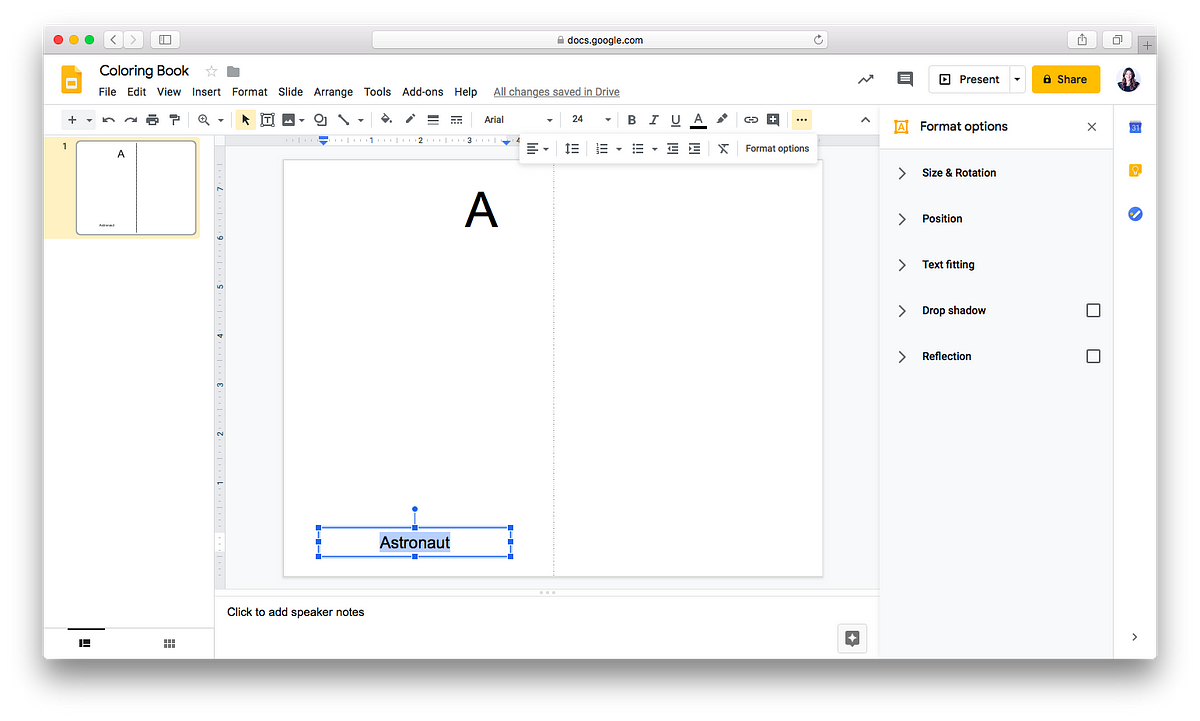
Create a second text box and center it at the bottom of the left hand side of the page. Adjust the font size to 24pt.
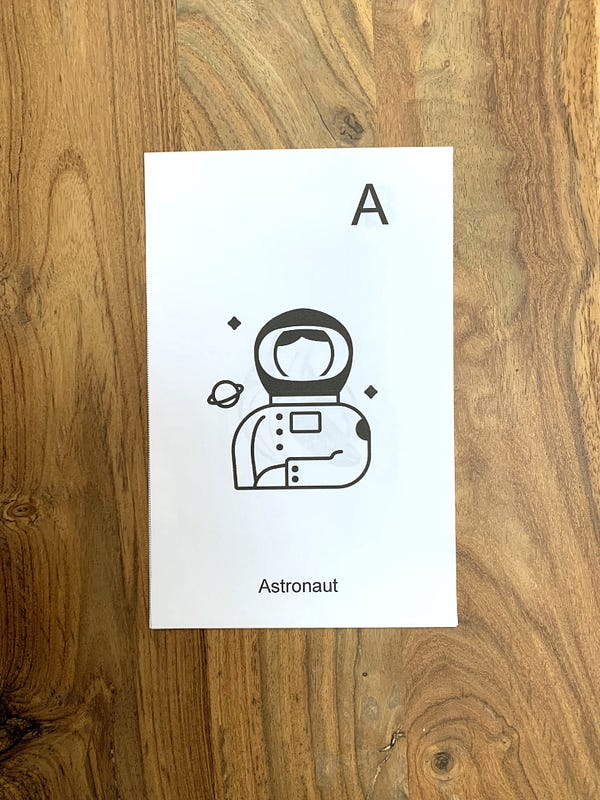
Now, it’s time to add an icon! Use thenounproject.com, Noun Project’s Mac App or Google Slides plugin to add an icon that represents the word you’ve chosen.
Tip: With Noun Project’s Mac App, simply select, drag and drop icons into your coloring book.
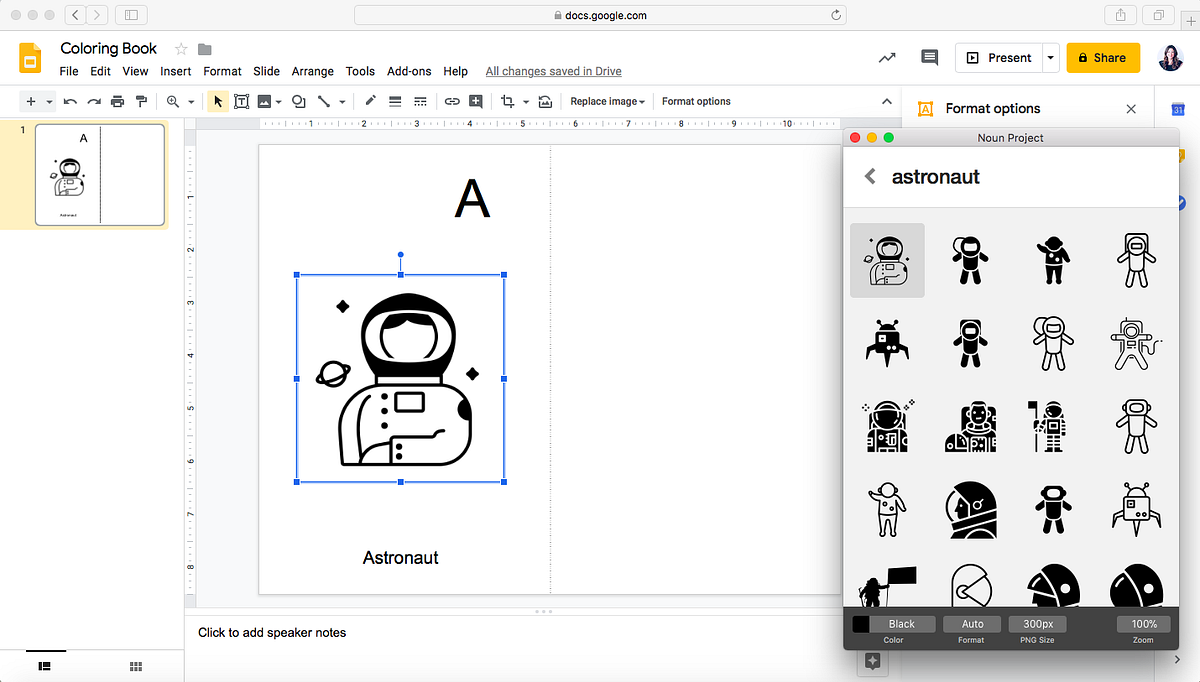
Use Noun Project’s Mac App or Google Slides plugin to easily add icons to your coloring book.
You’ve now completed one page of your alphabet coloring book! Next, copy the text fields from the left side of the page and paste them onto the right side of your dotted line. Edit the fields for your next letter (B) and then add your next icon.

Copy the slide you created with the letters “A” and “B,” and paste it below the A/B slide to create the next pages of your coloring book. Replace the letters, icons and words to start moving through the alphabet. Repeat this process until you reach the letter “Z.”

To assemble your coloring book:
Select File>Export> Export to PDF to create a PDF copy of your coloring book. Open the PDF and print. Make sure you select one-sided printing.
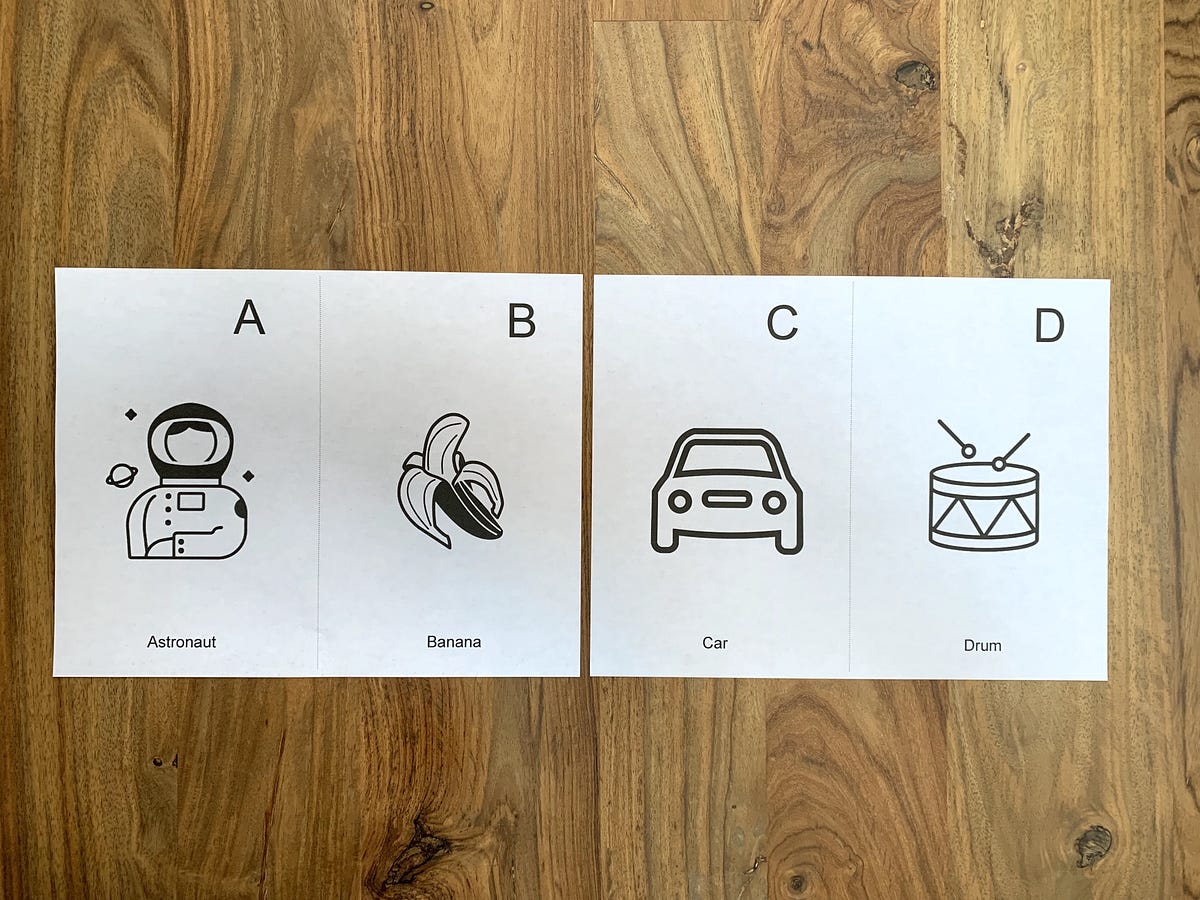
Your printed pages will look like this.
When you have your printed pages in hand, cut each page on the dotted line.
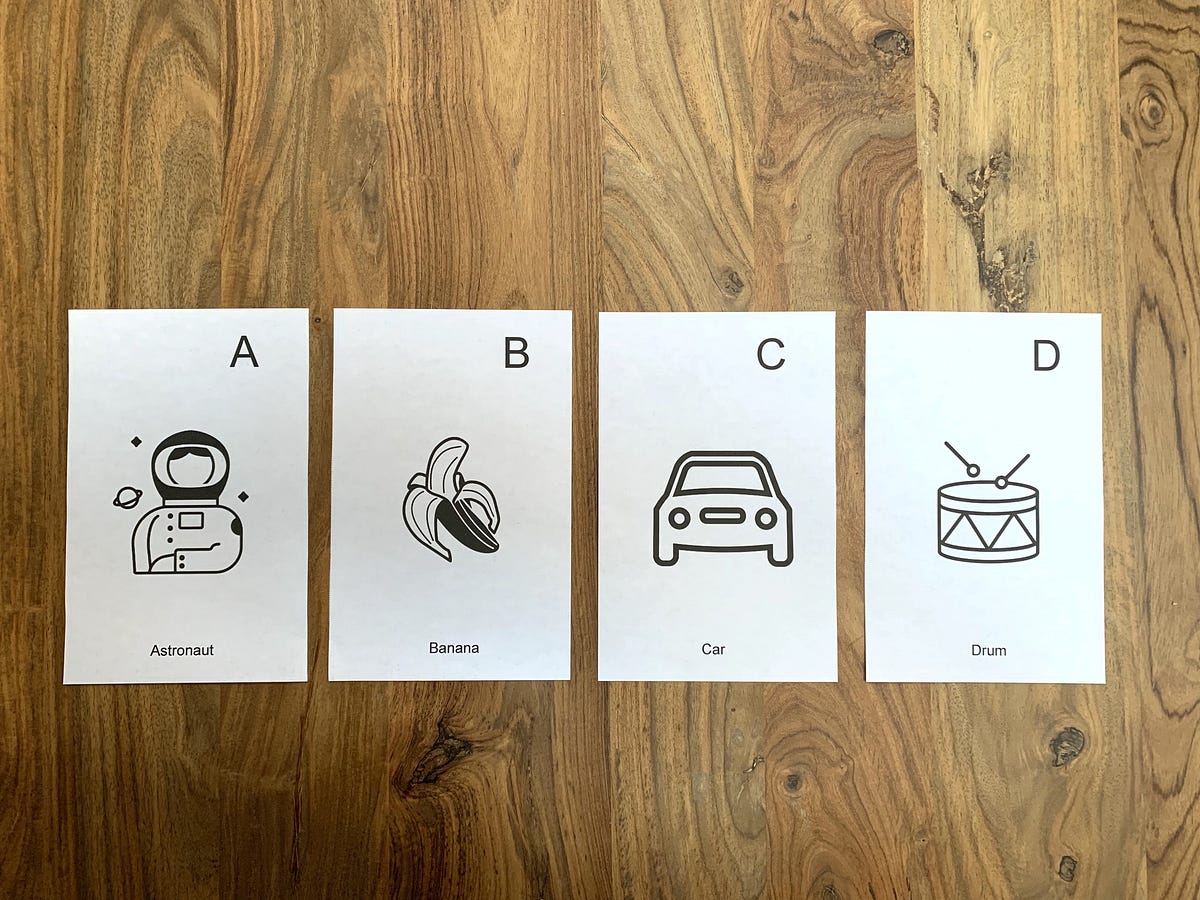
Cut each page on the dotted line.
Then, stack your pages in alphabetical order, icon side facing up. When all of your pages are in order, line them up so the left side of the book is flush. Finally, to bind your coloring book use a stapler to staple three times down the left hand side of your pages.
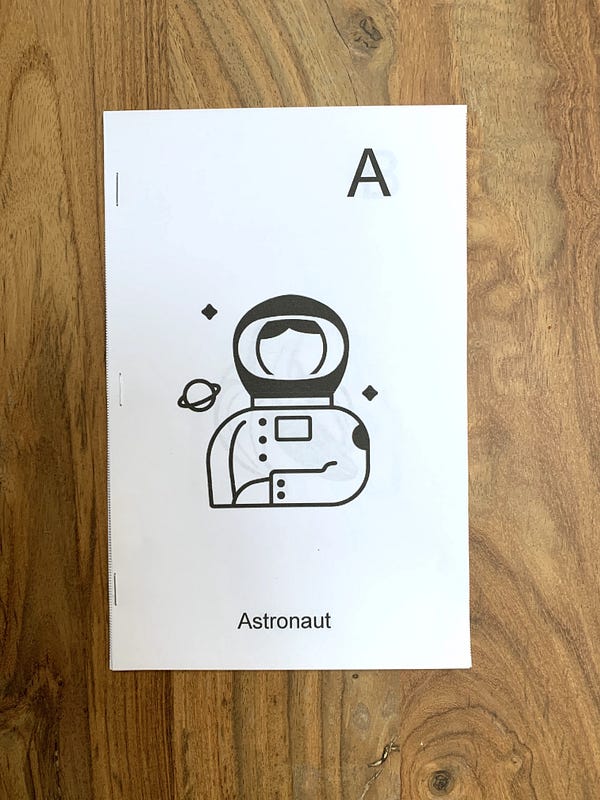
Stack your cut pages and staple down the left hand side of your coloring book.

There will be a blank page facing each letter. This is great extra coloring space for kids!
Now, grab some crayons or colored pencils and start coloring!
We chose to create an alphabet coloring book for this example, but you can use these steps as a starting point to create any type of coloring book you’d like. You can also download or make a copy of this template and customize it, or you can print it out as-is for a ready to use coloring book.

