

Carving pumpkins this week? You can create your very own carving stencils using Noun Project icons. It’s easy as (pumpkin) pie.
Want to show off your creation? From October 24-31, 2023, tag us on Twitter @nounproject with a photo of your pumpkin and its reference icon and you could win a $100 Target Giftcard!
First, pick your icon
Visit thenounproject.com or open the Noun Project Mac App. Search for the icon you’d like to turn into a stencil for your pumpkin. Solid icons and icons with a clearly defined outline work best. Choose simple icons instead of icons with lots of intricate detail for the best results.
Here are a few examples of icons that work well as stencils:
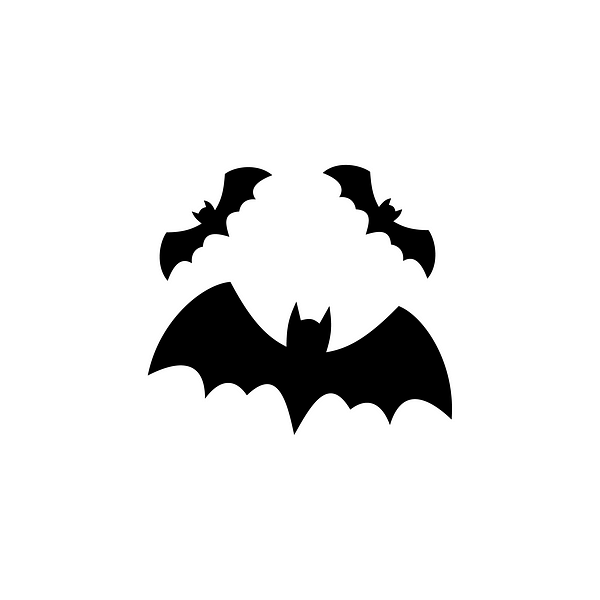

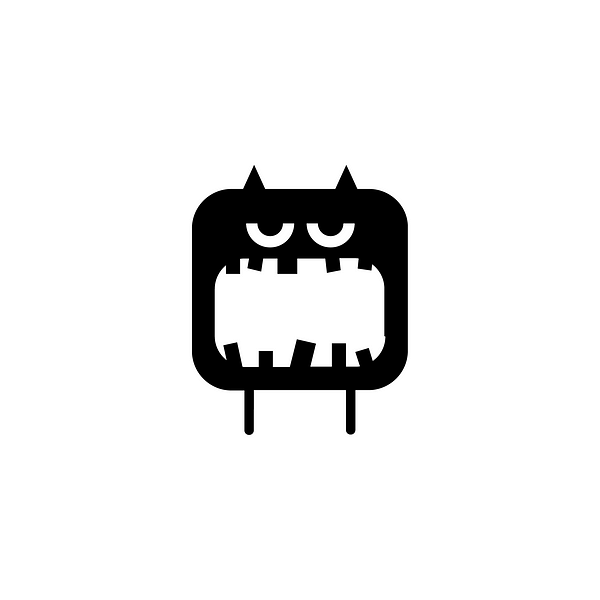
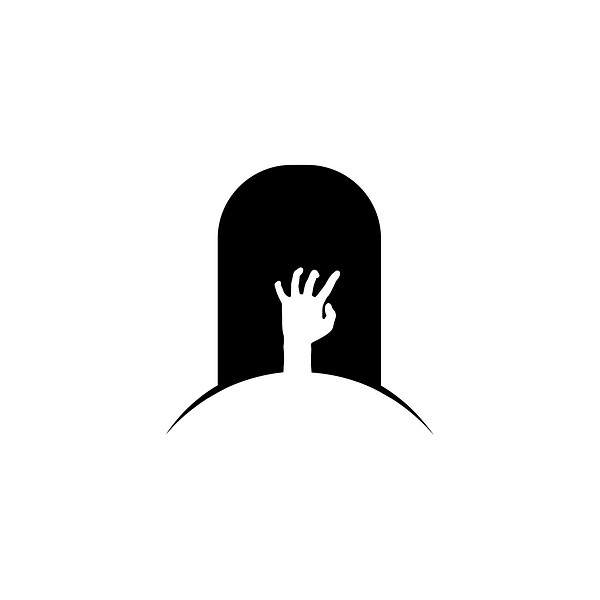

Use search terms like “Halloween solid” or “Halloween glyph” to find filled icons, rather than those with intricate outlines and detail.
Next, download your icon
Download your icon as a PNG and open the file in Preview.
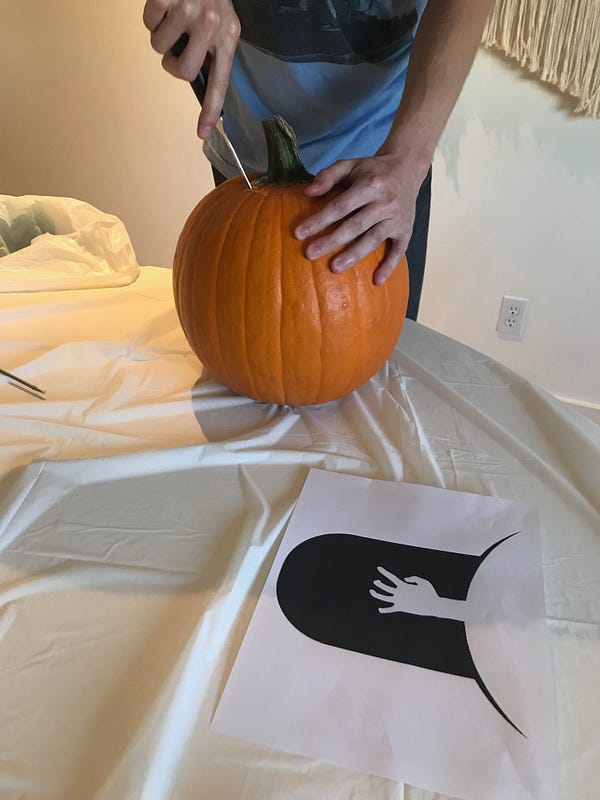
Then, print and transfer your stencil
Measure your pumpkin and resize the icon to fit. Print your icon in the final size you need. Place the stencil on your pumpkin with tape to carve directly through the stencil, or you can transfer the stencil by tracing it on to the surface of your pumpkin.
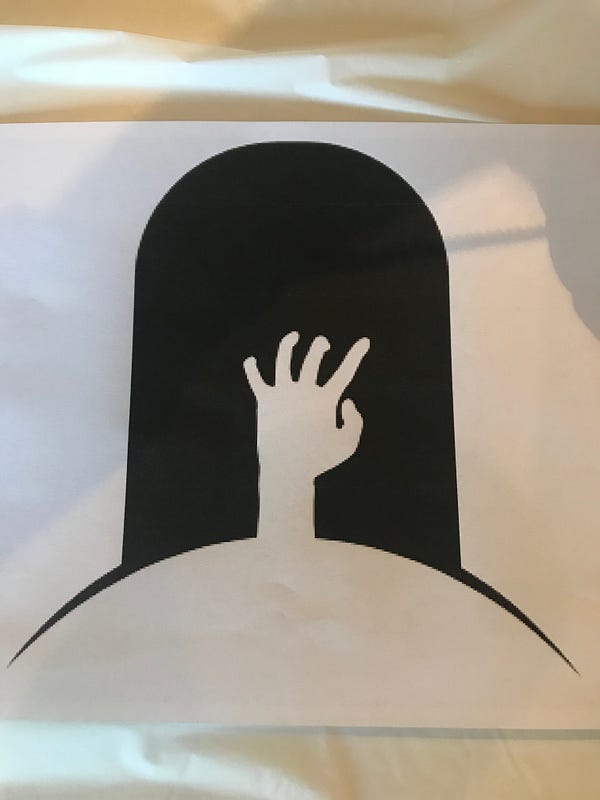
Print your icon
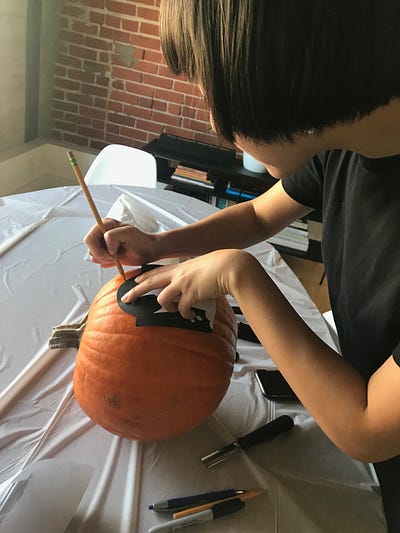

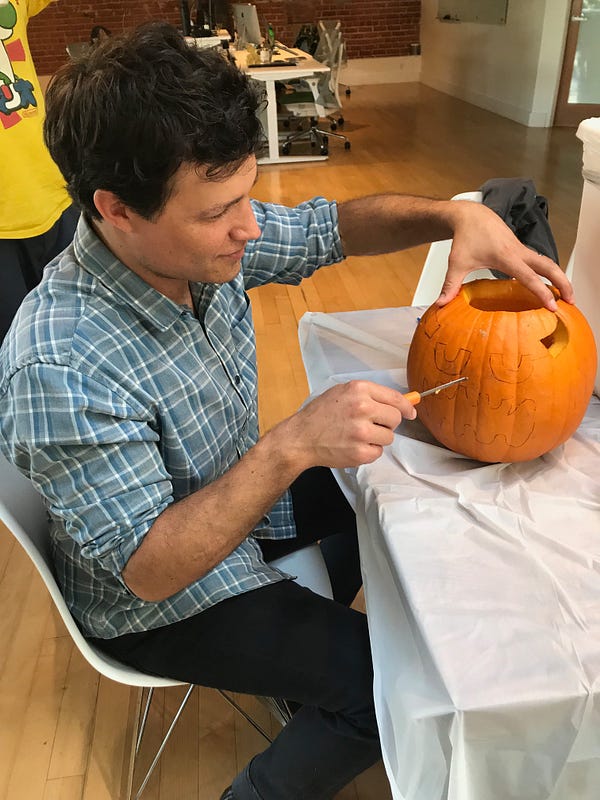
Transfer your stencil to the pumpkin
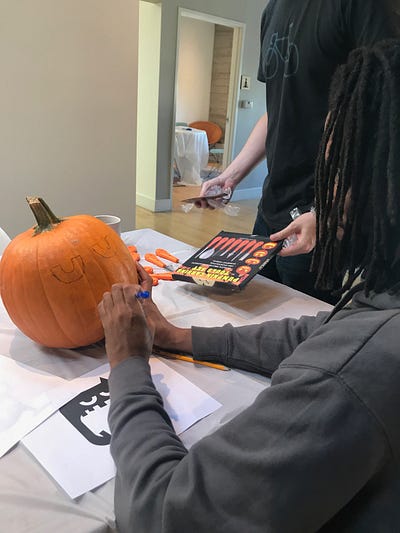
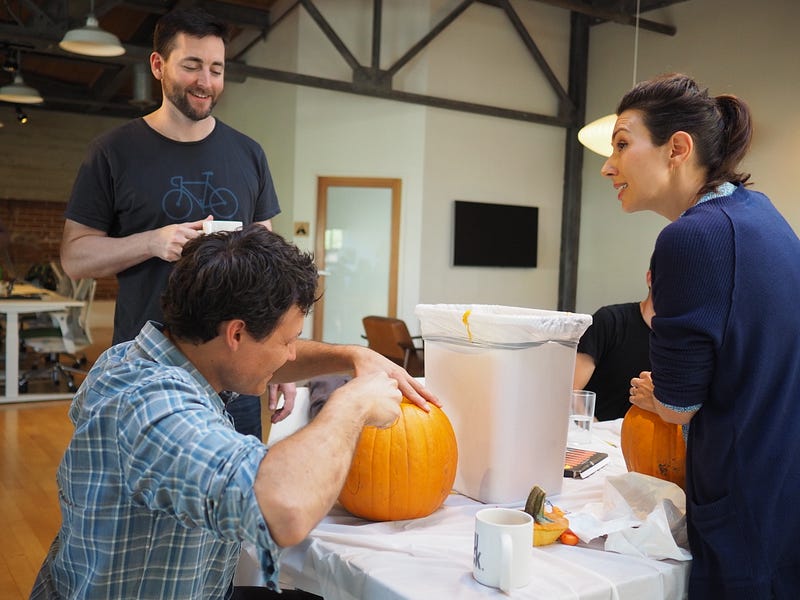
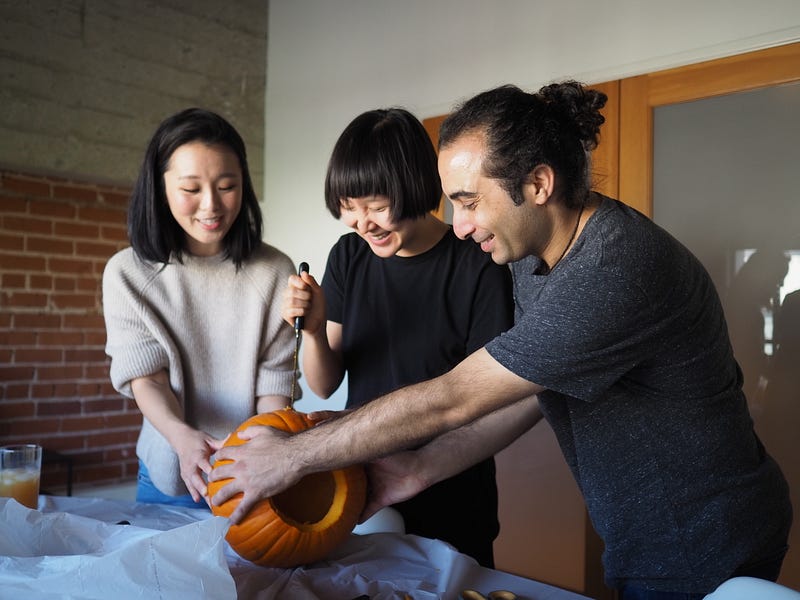
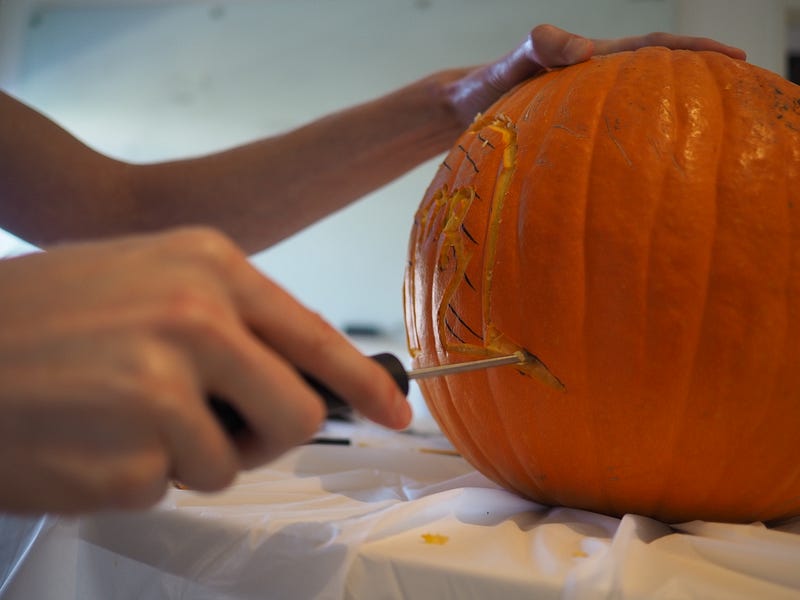
Finally, get carving!


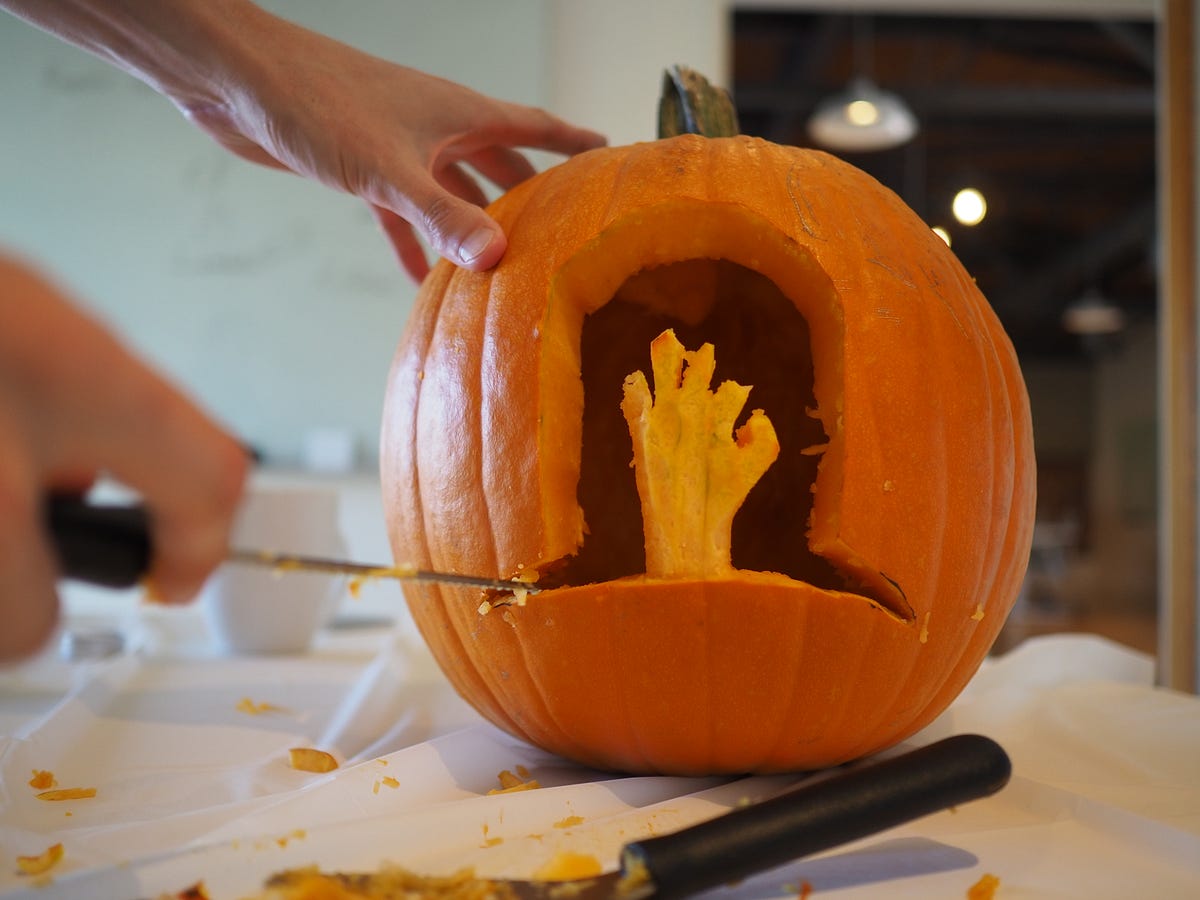
Tweet us @nounproject to show us your silly, scary and fun Halloween pumpkins!
*Please remember, safety first! Carve at your own risk.