Portrait photography is all about people — and a good portrait tells a story about the person in it. From photographing your family to formal portrait sessions, both aspiring photographers and professionals alike can up their portrait game with these 10 simple tips:
1. Make a Connection
The single most important aspect of creating stunning portraits is not what gear you use — it’s the connection created between the photographer and the person.
Creating an environment where people feel comfortable to be themselves encourages trust in the photographer and the process. Authentic, emotive portraits happen when people feel relaxed and at ease.
If you’re photographing someone you haven’t met before, take time to create a rapport either before or during the shoot. A comfortable setting is equally important when capturing images of your loved ones who may not be used to being photographed.
Don’t rush the shoot, instead ask questions about things your subject enjoys doing and play their favorite songs to build a fun, relaxing atmosphere. Take your time and create a connection.
“A portrait is not made in the camera but on either side of it.” — Edward Steichen

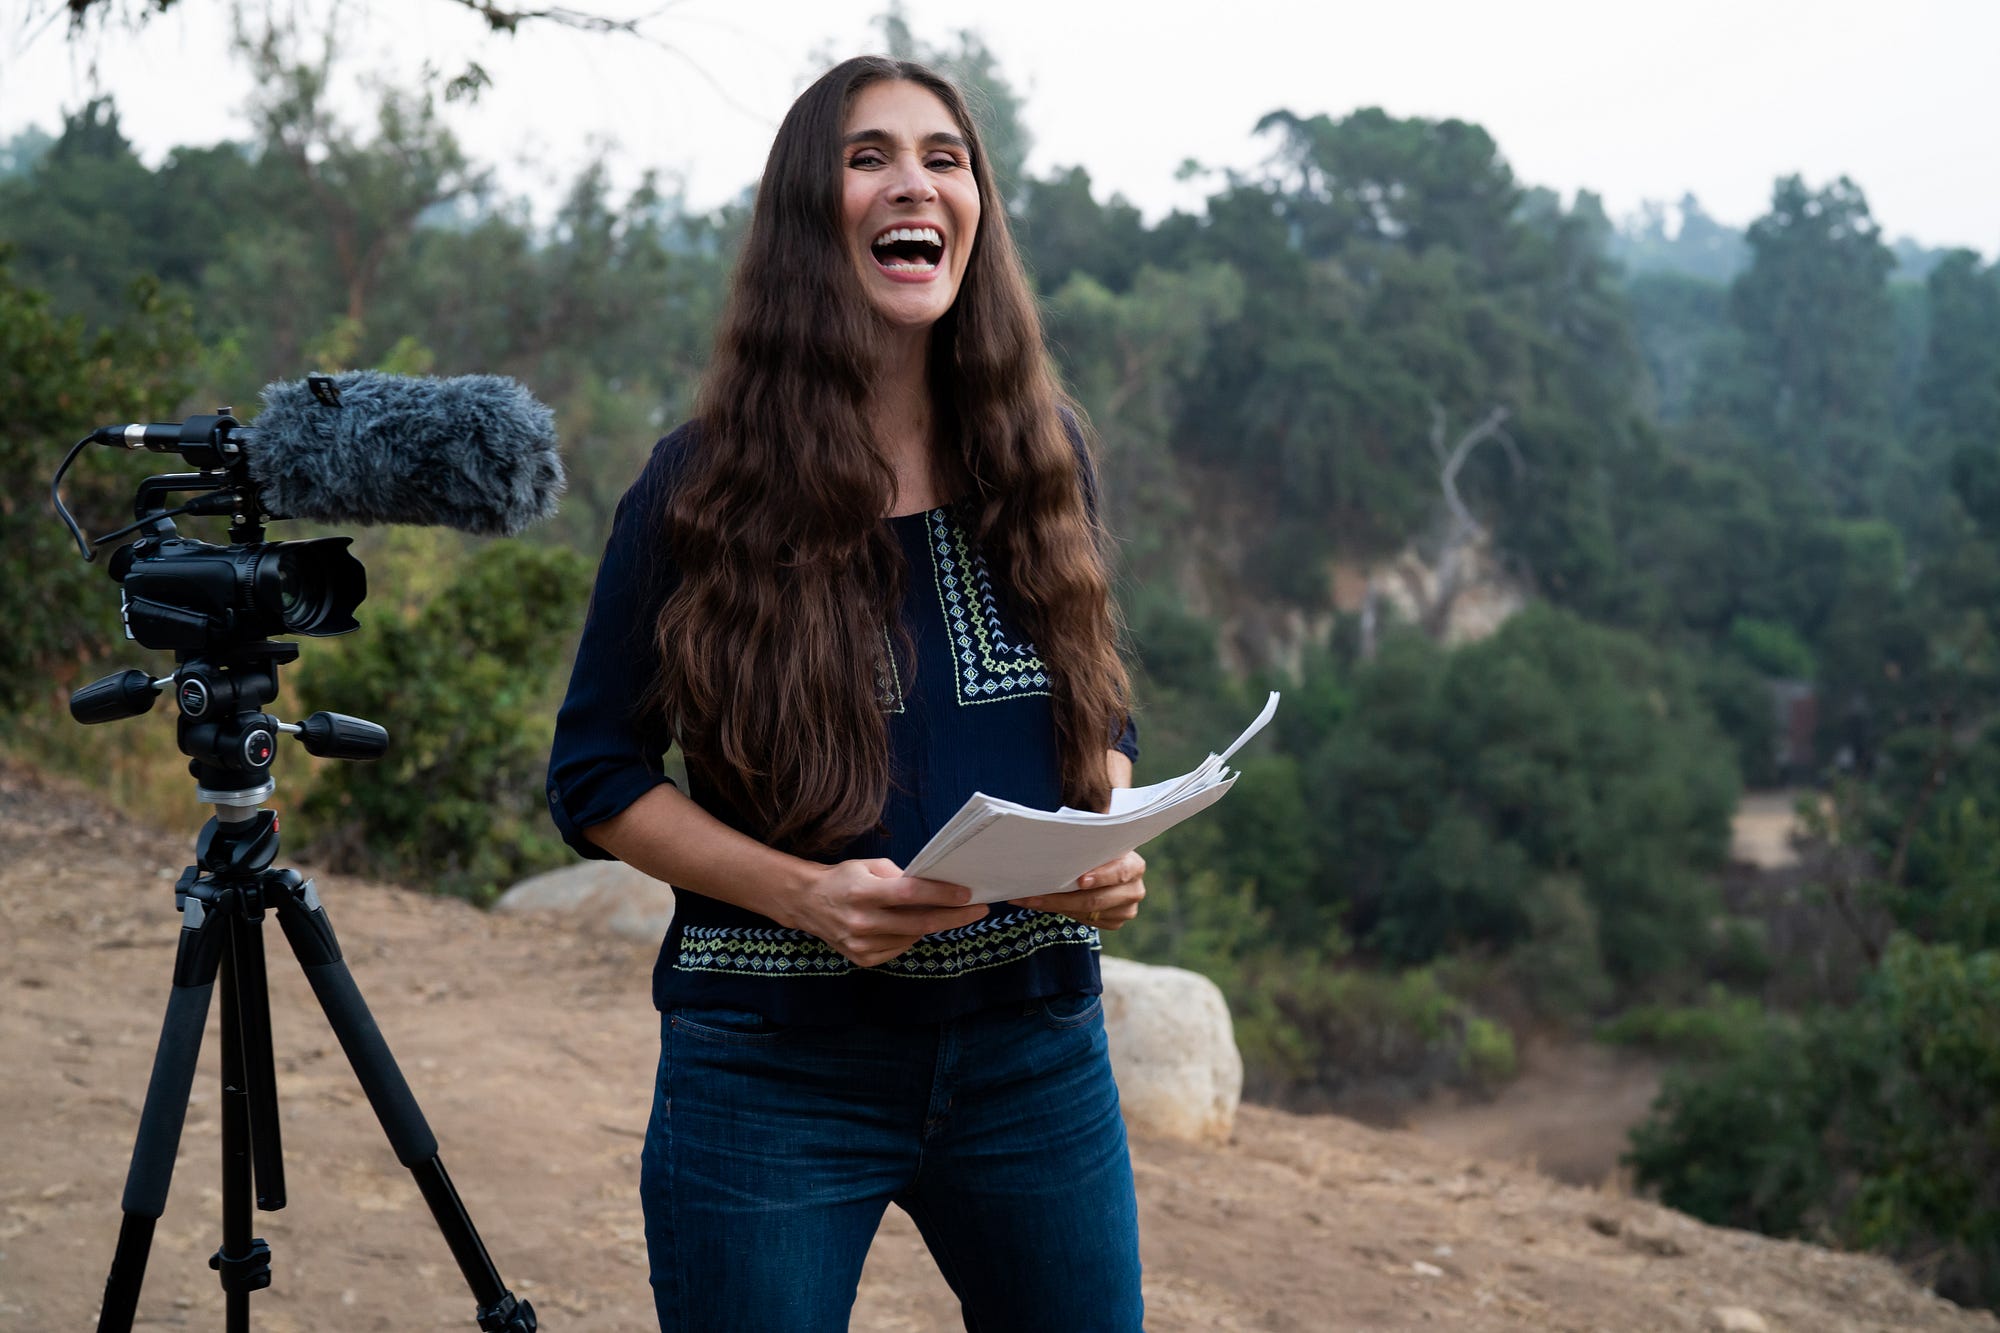
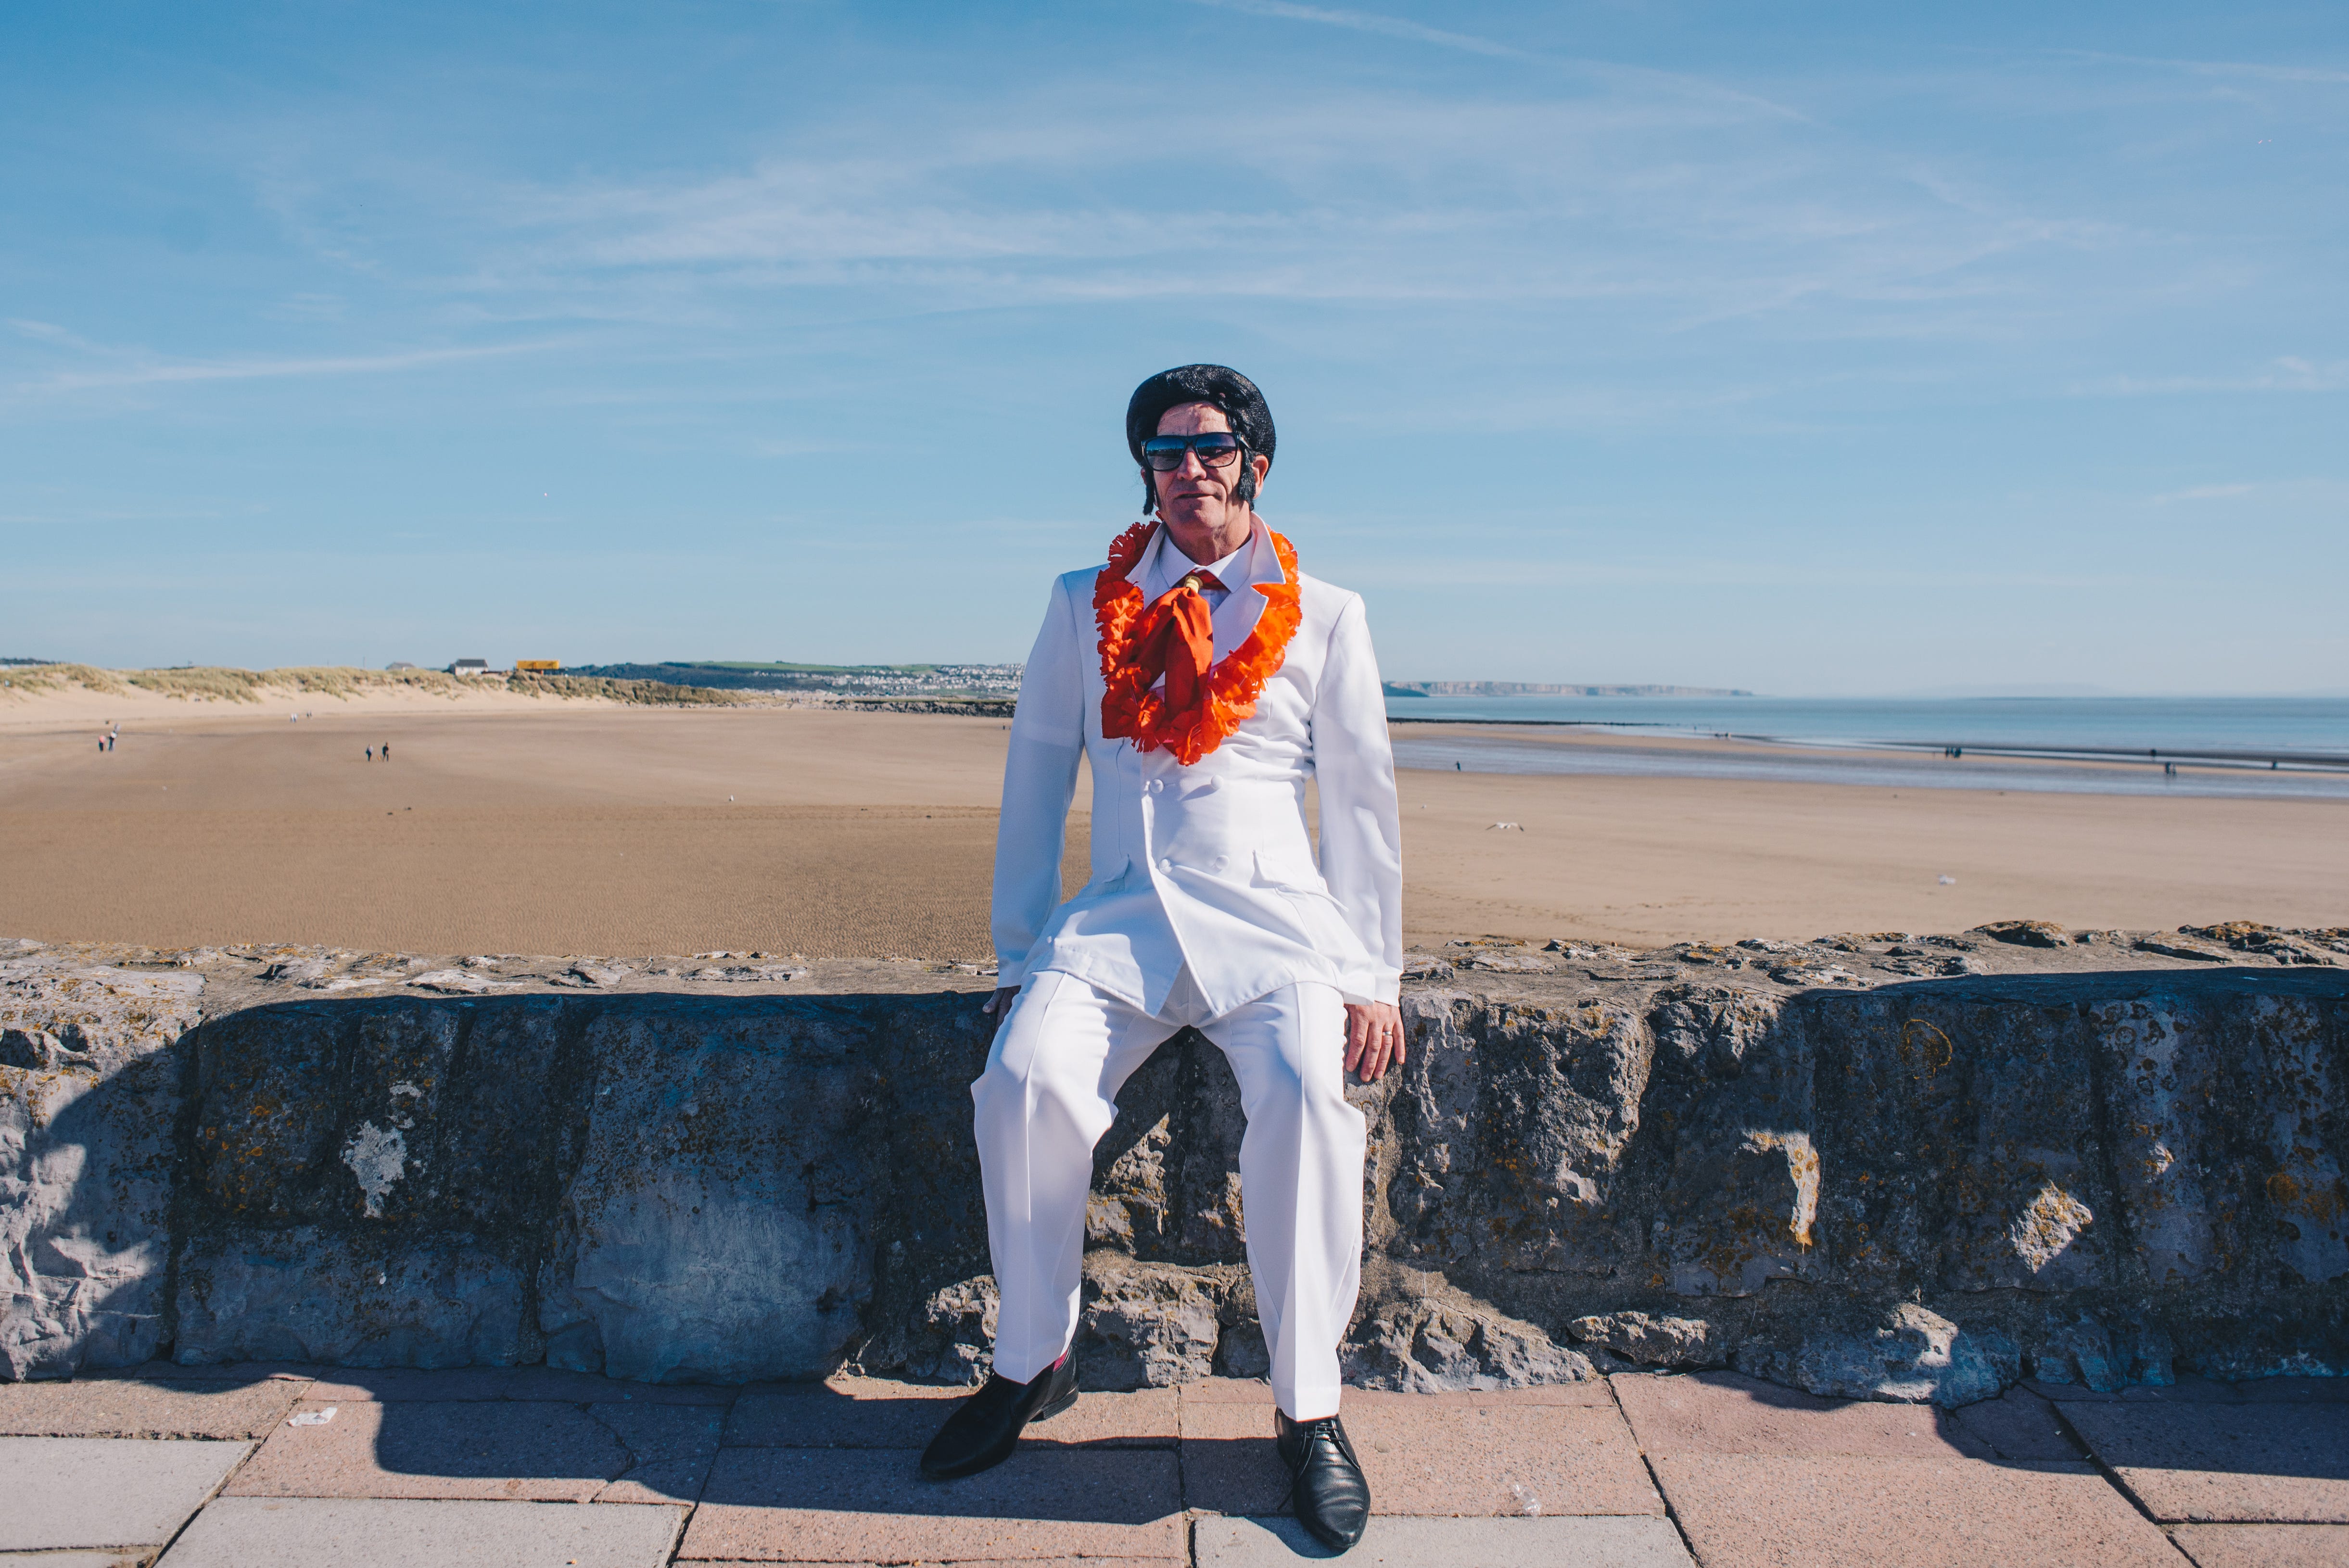
2. Consider the Setting
The location where you choose to photograph your subject helps tell the story of who that person is and what is important to them. This is called an “environmental portrait.” These show more of your subject’s personality, rather than just a physical likeness of them from a standard portrait.
A favorite room, work space, place where your subject spends their free time or partakes in hobbies are all great settings for fantastic portraits. When people are in a physical place where they feel at ease, they generally feel more comfortable expressing themselves, which creates a more authentic portrait.


Another fun idea is to look for objects or details that are important to the person to include in your photographs to help tell the story. Adding in these other objects to your portraits and including them as a collection is called a photo series.

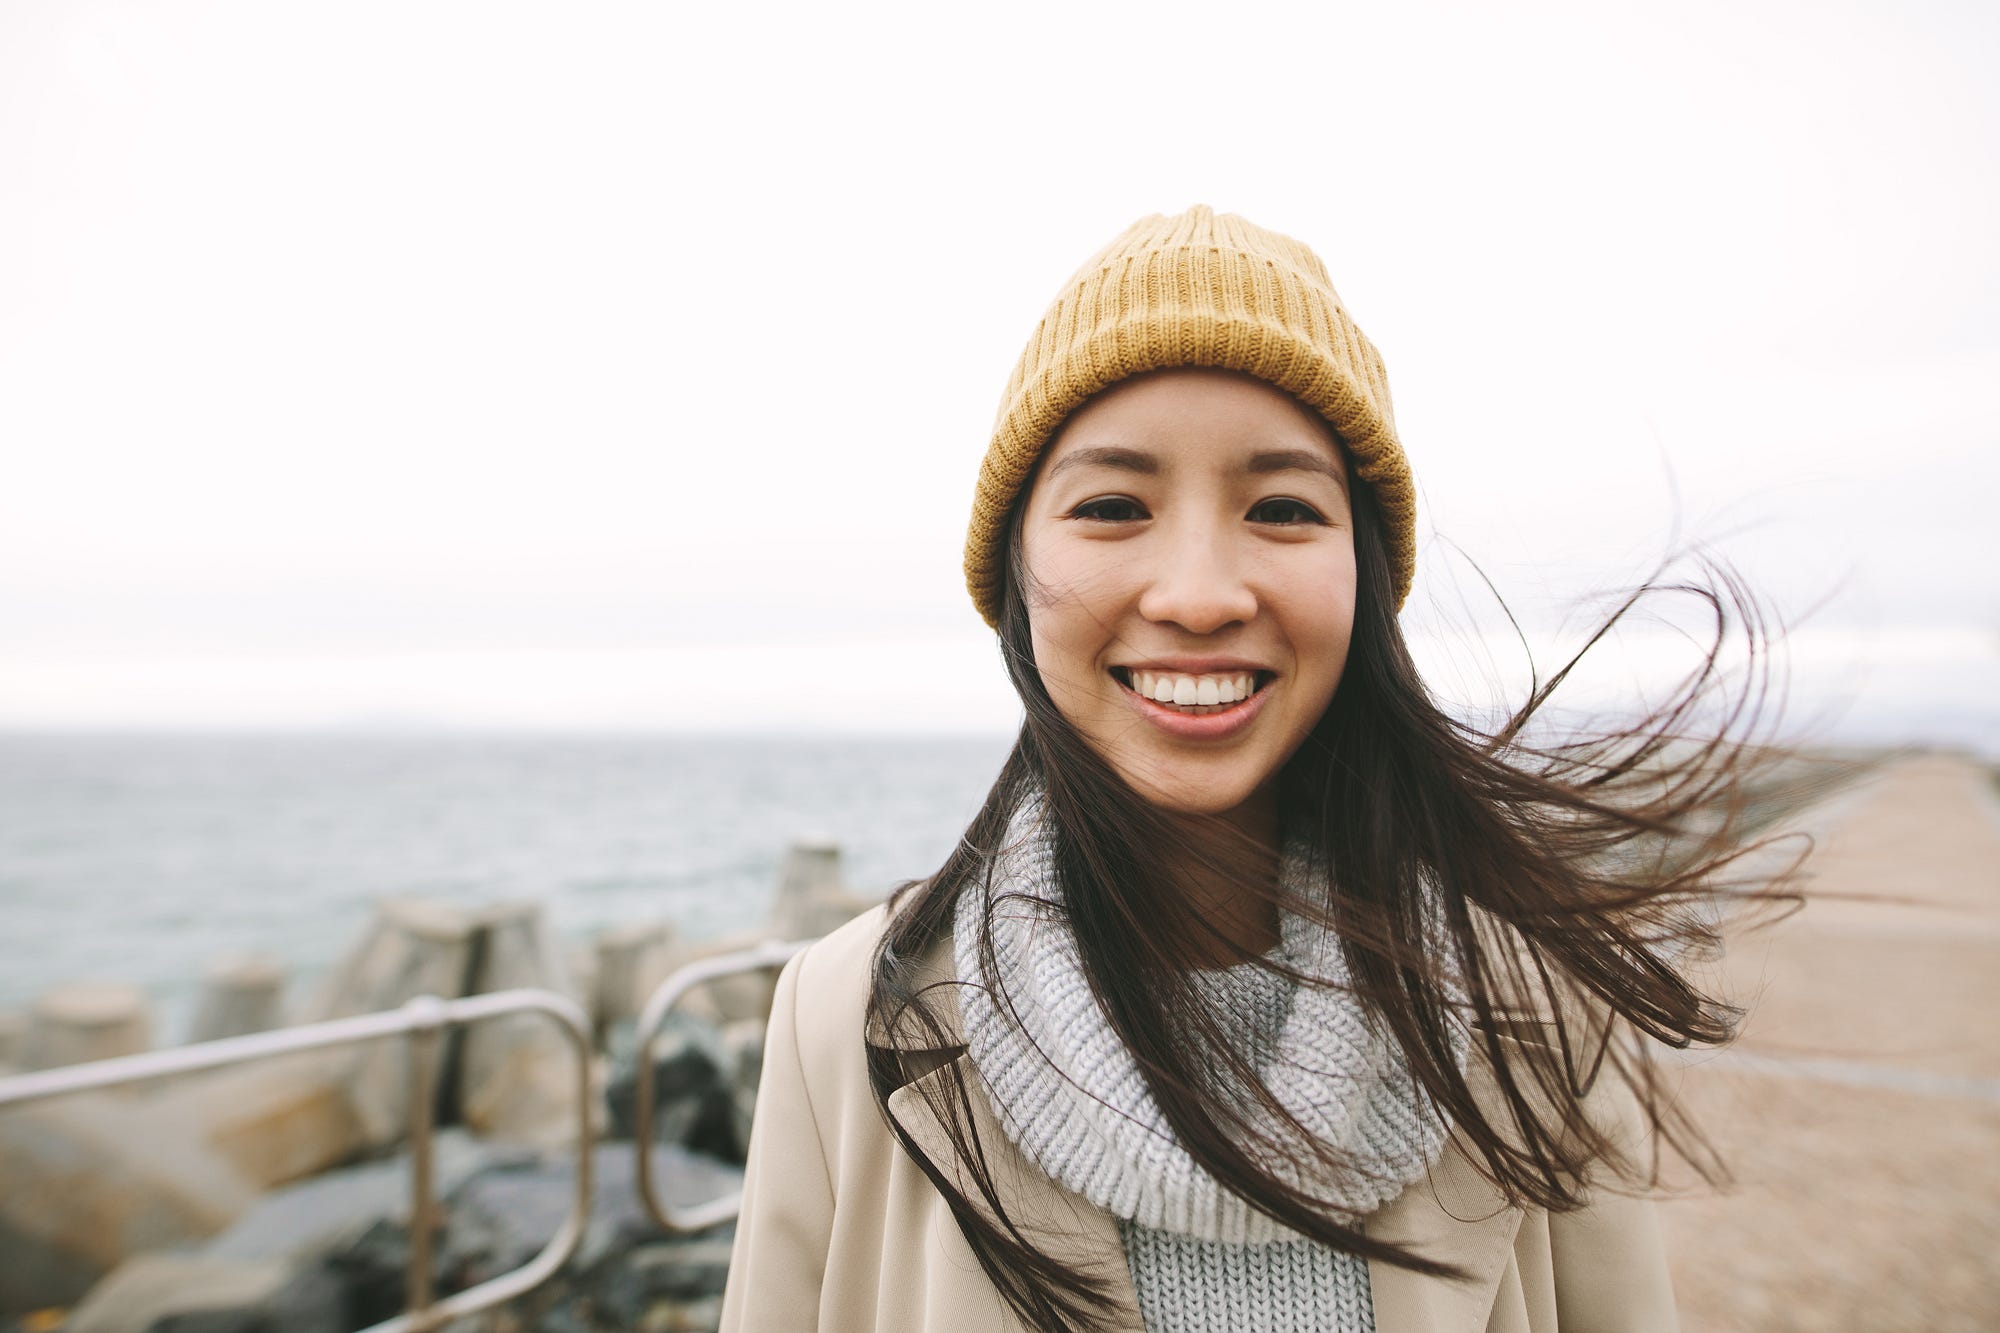
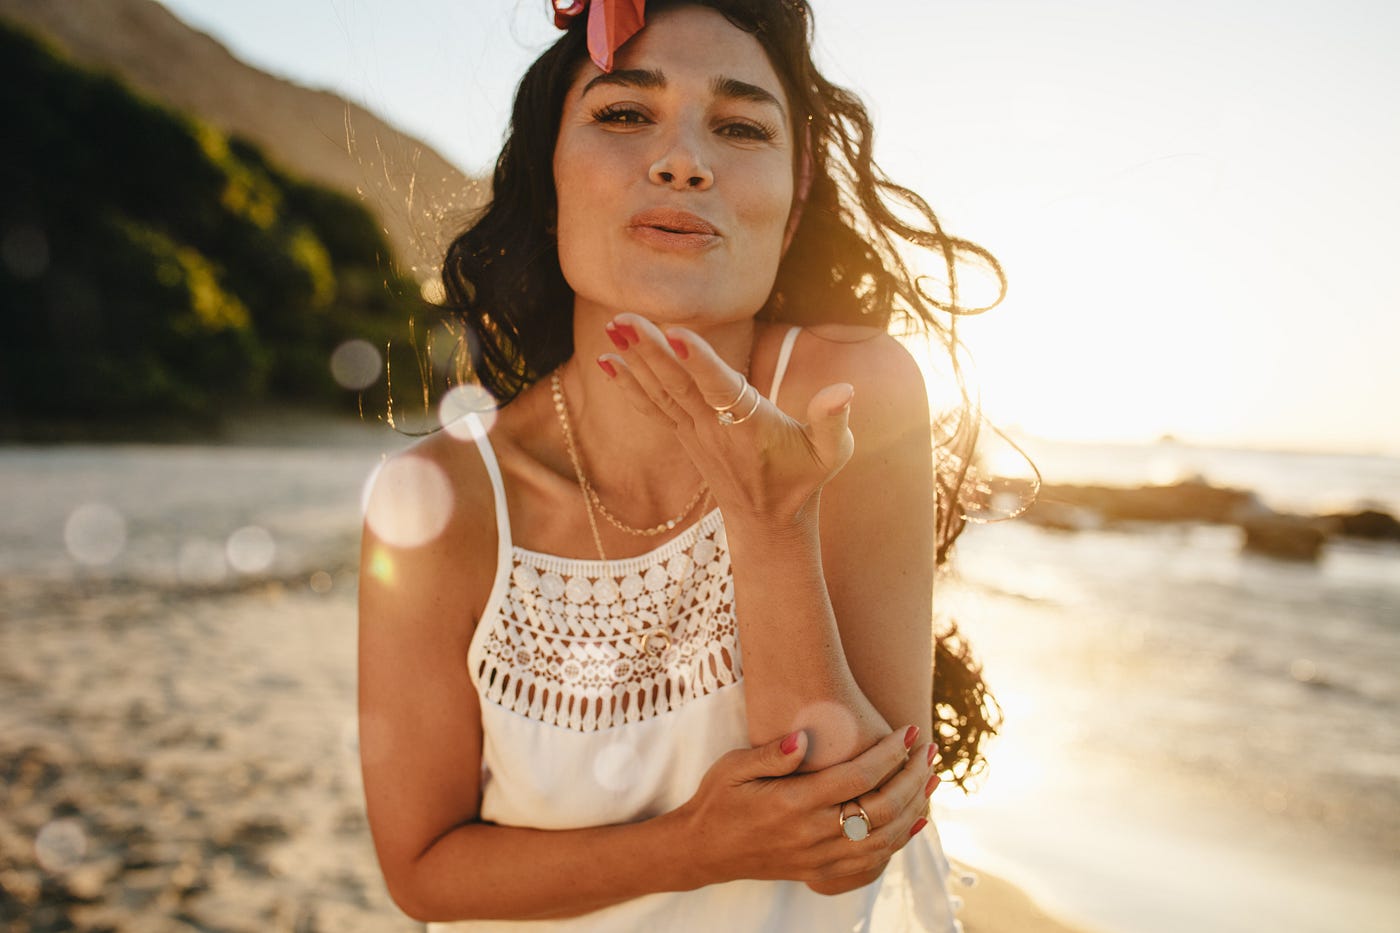
3. Find the Light
Finding the best light to flatter your subjects is one of the most important things you can do.
The light at the last hour before sunset, as well as the first hour after sunrise are both referred to as the “golden hour” or “magic hour.” This light is really easy to work with — it’s hard to over or under expose your images because the light is very even. Magic hour light is also very flattering on people’s skin as it generally produces a gorgeous golden hue.
The hour that immediately follows sunset, referred to as the “blue hour,” is another great time to shoot as it creates a very soft, even light for your portrait.


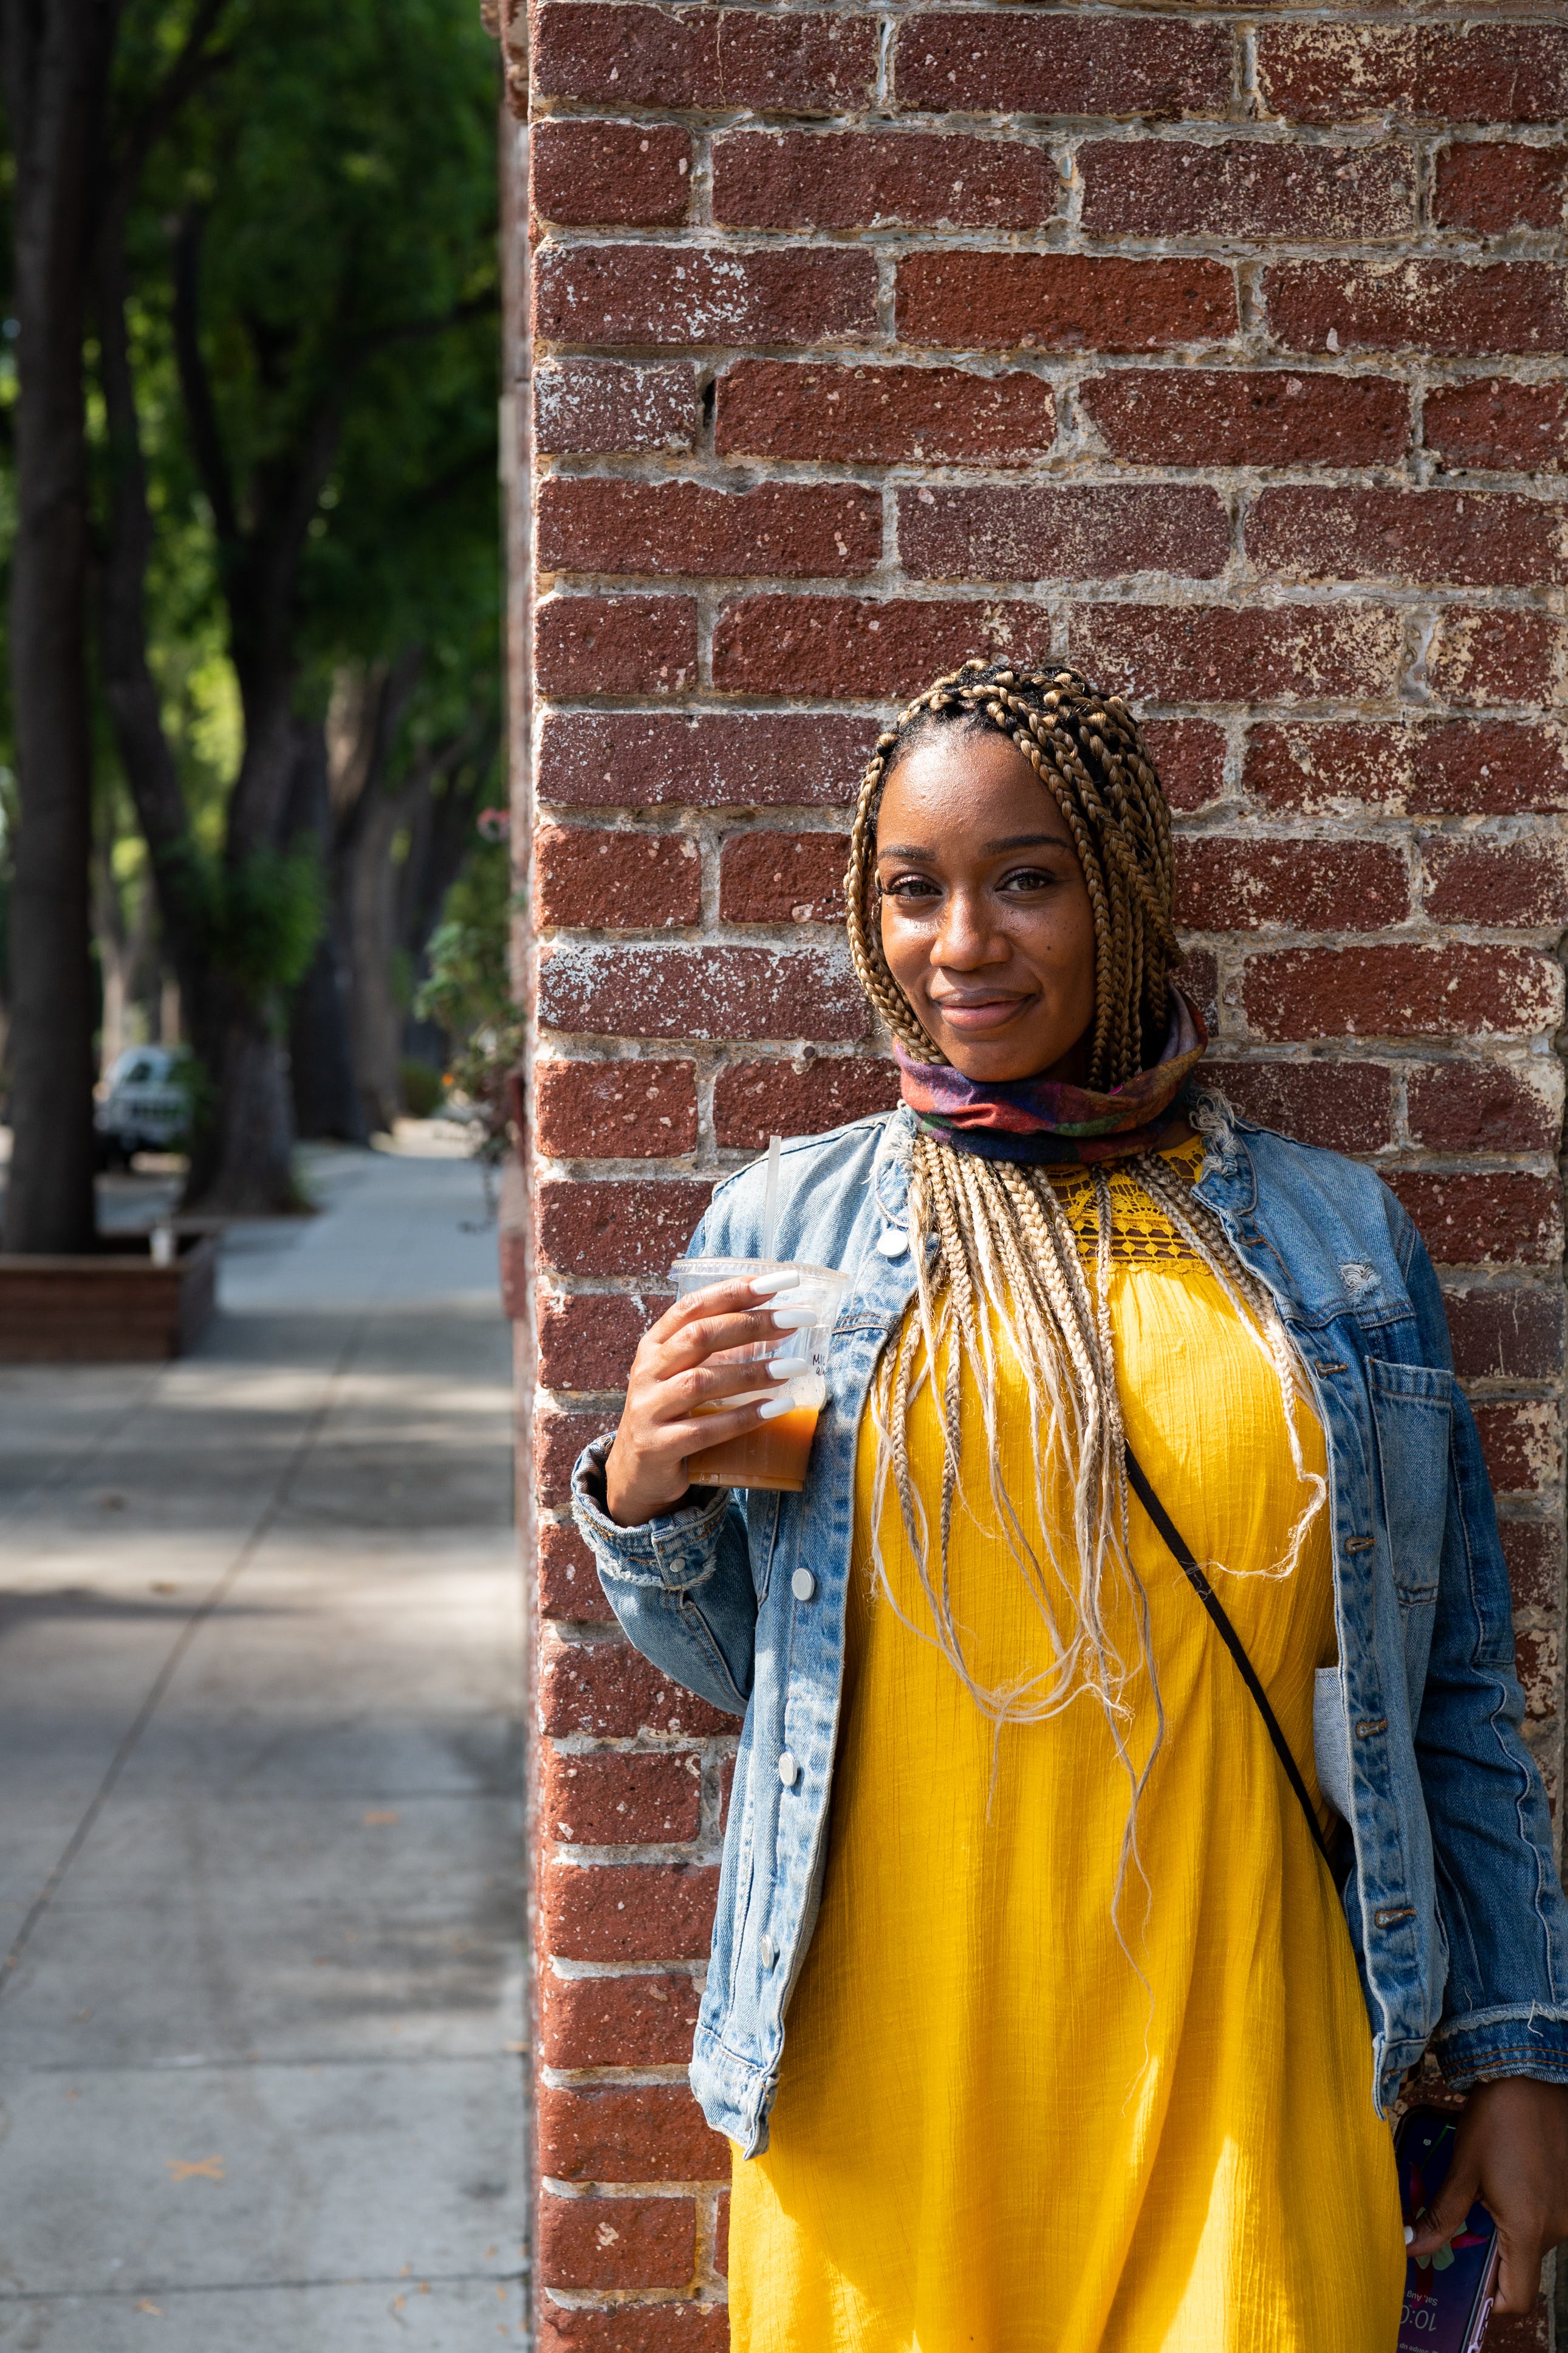
Directional light is when light that comes from one direction, which can be utilized to create drama and depth. If the directional light is too strong for the look you’re going for, fabric can be used to diffuse the light.
You can diffuse directional light indoors by placing your subject near a window with semi-sheer curtains. If shooting outside, a large semi-sheer scarf or piece of fabric will soften the light and further, it adds a unique and fun look to your portraits.


If possible, avoid shooting mid-day or when the sun is directly overhead, as this creates dark shadows on your subject’s face. However, we don’t always have control over the time of day we’re shooting. If you do have to shoot mid-day, you can move your subject under the shade of a tree, under a building overhang or on a side of a building that is not directly in the sun to avoid deep shadows on the person’s face.
“Light makes photography. Embrace light. Admire it. Love it. But above all, know light. Know it for all you are worth, and you will know the key to photography.” — George Eastman
4. The Eyes Have It
When we look at a photo or painting we often look at the subject’s eye’s first, as we tend to do in real life. When creating portraits, you almost always want to place the emphasis on the eyes so that the viewer can immediately feel the emotion of the photo and connect with the subject.

Capturing catchlights in a person’s eyes is a fantastic way to draw attention the eyes in a portrait. Catchlights are the glimmer of light that is reflected in a person’s eyes that comes from an external light source, which adds life and depth to a portrait.
To capture catchlights, face your subject toward the light source. If photographing inside during the day, have your subject look toward or near a window to get that glimmer.


5. Anticipate the Moment
One of the best ways to create fantastic portraits is to look for authentic moments and by anticipating people’s behavior. A great way to practice this is to quietly observe emotions, interactions and connections between people — without your phone or camera. The most authentic moments and interactions usually happen in the split second when people forget that the camera is there. Pushing the shutter at that split second of emotion is called the “decisive moment,” a term coined by Henri Cartier-Bresson, a forefather of street and reportage photography.

Be ready with your camera, watch people’s interactions and then step back and let the scene unfold — and use your intuition to snap the shot when you sense that fleeting moment.

“There is one thing the photograph must contain, the humanity of the moment.” — Robert Frank
6. Create Depth of Field
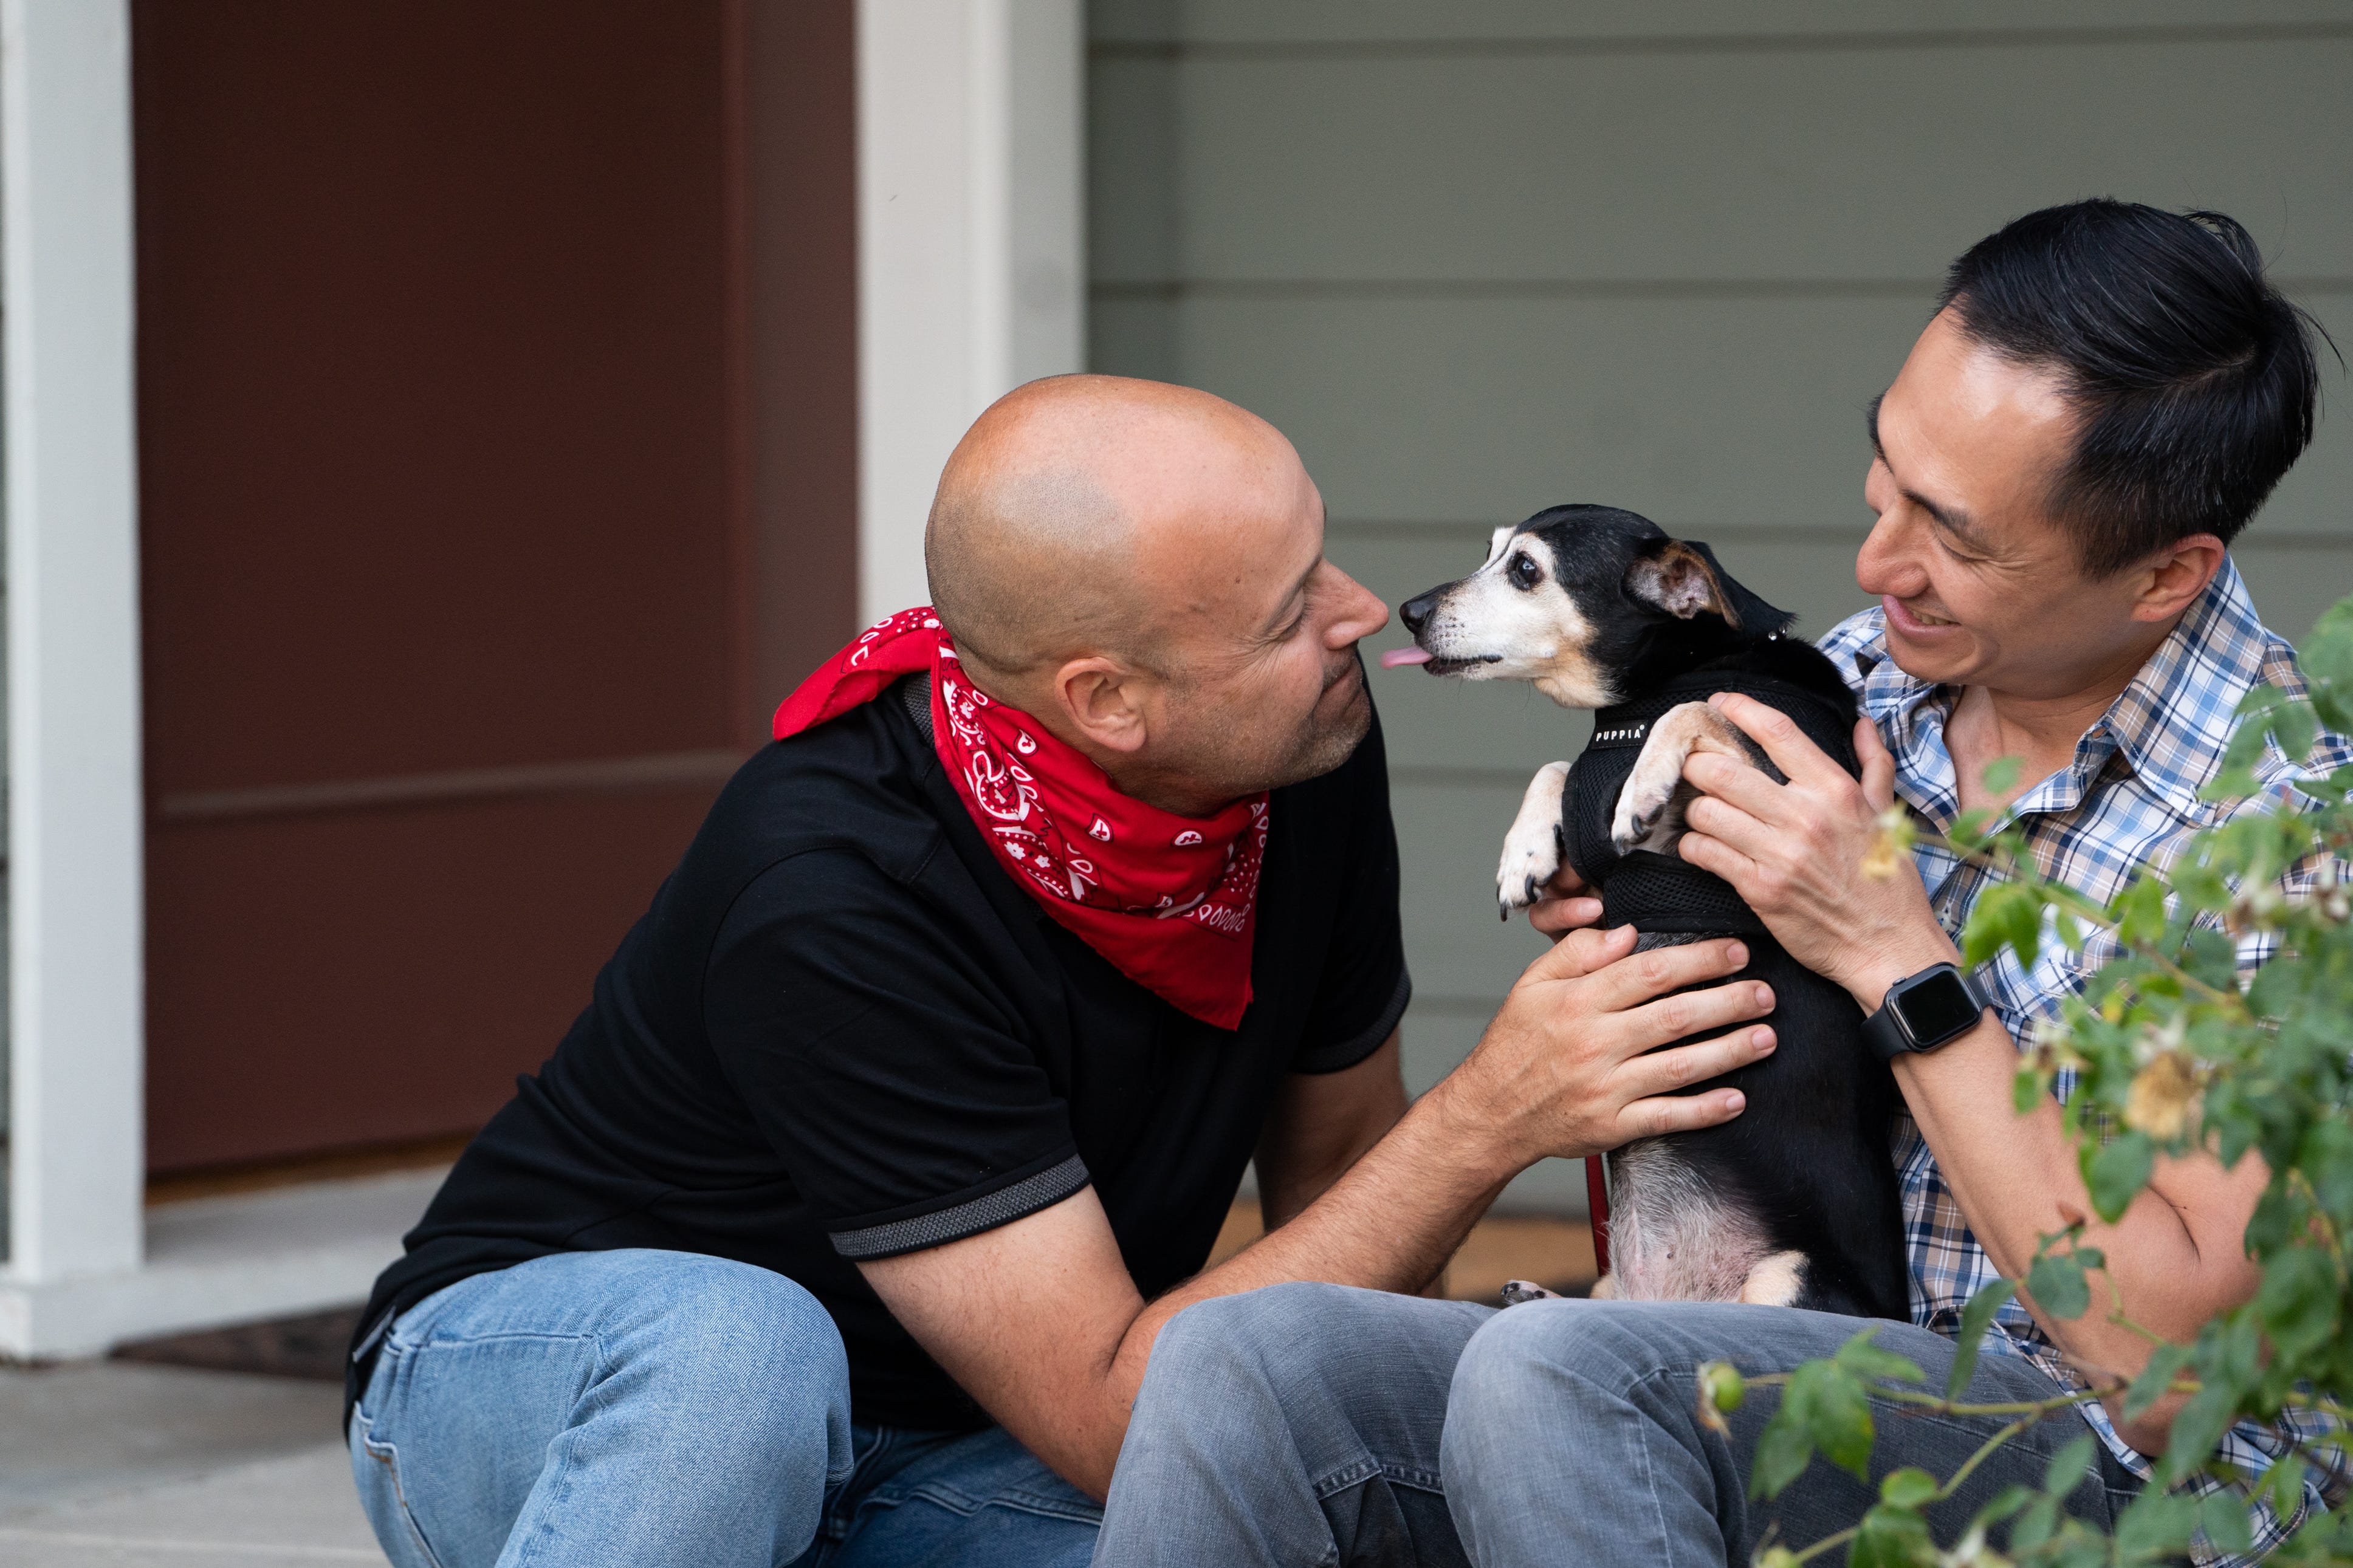
In the simplest terms, depth of field is how much of your photo is in focus. A shallow depth of field means that there is sharpness on the subject and blur elsewhere in the background and/or foreground. Utilizing shallow depth of field in a portrait is a great way to make your subject stand out from the surroundings. Shallow depth of field also sparks dreamy and emotive feelings in a photo.
In the images below, the dog’s coat has very similar colors and patterns to the rug. Using a shallow depth of field in this situation makes the dog’s face pop. He’s no longer camouflaged!


Most smartphone cameras have a built-in “portrait mode.” Using portrait mode effortlessly creates a shallow depth of field and is easy for anyone to use to get this effect.
If you’re using a DSLR camera, choose a wide aperture of f/2.8 — f/5.6 to ensure that the background is nicely blurred.


If you don’t have portrait mode on your smartphone camera or shoot with a DSLR, you can easily create shallow depth of field by simply moving close to your subject.
7. Use Compositional Guidelines
Using simple compositional techniques can instantly elevate your portraits. Examples of helpful guidelines for great portraits are to use the rule of thirds, ensuring that your subject stands out from the background, and utilizing framing.
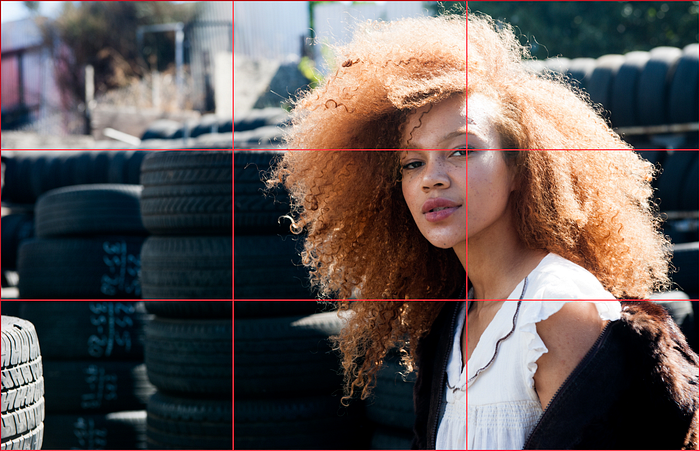
The rule of thirds is a great technique that creates an off-center composition, which is pleasing to the eye. Imagine dividing an image into 9 segments by using two vertical and two horizontal lines. One of the best ways to train your eye to see the rule of thirds is to use the built in overlays grids on the viewfinder or display of your phone or camera.
To use the rule of thirds in a portrait, place the person in the left or right 1/3 of an image and leave the other 2/3 more open. For ultimate impact, make sure one of your subject’s eyes is on one of the intersection points.
Another way ensure your subject stands out from the background is to declutter the shot by removing distracting objects in the background. You can also move your subject and photograph them against a blank wall or a plain backdrop.

Framing in photography is exactly what it implies: creating a visual frame around your subject using elements within the scene. Framing draws attention to the important area of the photo by emphasizing the subject. In the photo below, the yellow pool inner tube creates an unusual and interesting frame for this fun summer portrait.

8. Mind Your Cropping
Portraits can be full length, three quarter length, head and shoulders, or a fill-the-frame close up. When creating portraits, you can place emphasis on aspects of the photo with how you choose to crop. Photos can be cropped in camera (or how you frame your shot) or in an editing application in post.
The basic rule of thumb for cropping portraits is not to crop through a joint. Rather than cropping at the elbow or wrist, crop half way down the forearm. In a full length photo, pay attention while shooting to not crop out the person’s feet.

It’s also important to consider what you’d like to include in the photo as well as what you’d like to exclude. For example, is it important for the environment to be included to help tell a story? If so, crop wide. Do you want to create a sense of intimacy between the subject and the viewer of the photo? Crop close. Making mindful cropping choices is a huge part of telling a story through a portrait.


9. Consider Angles
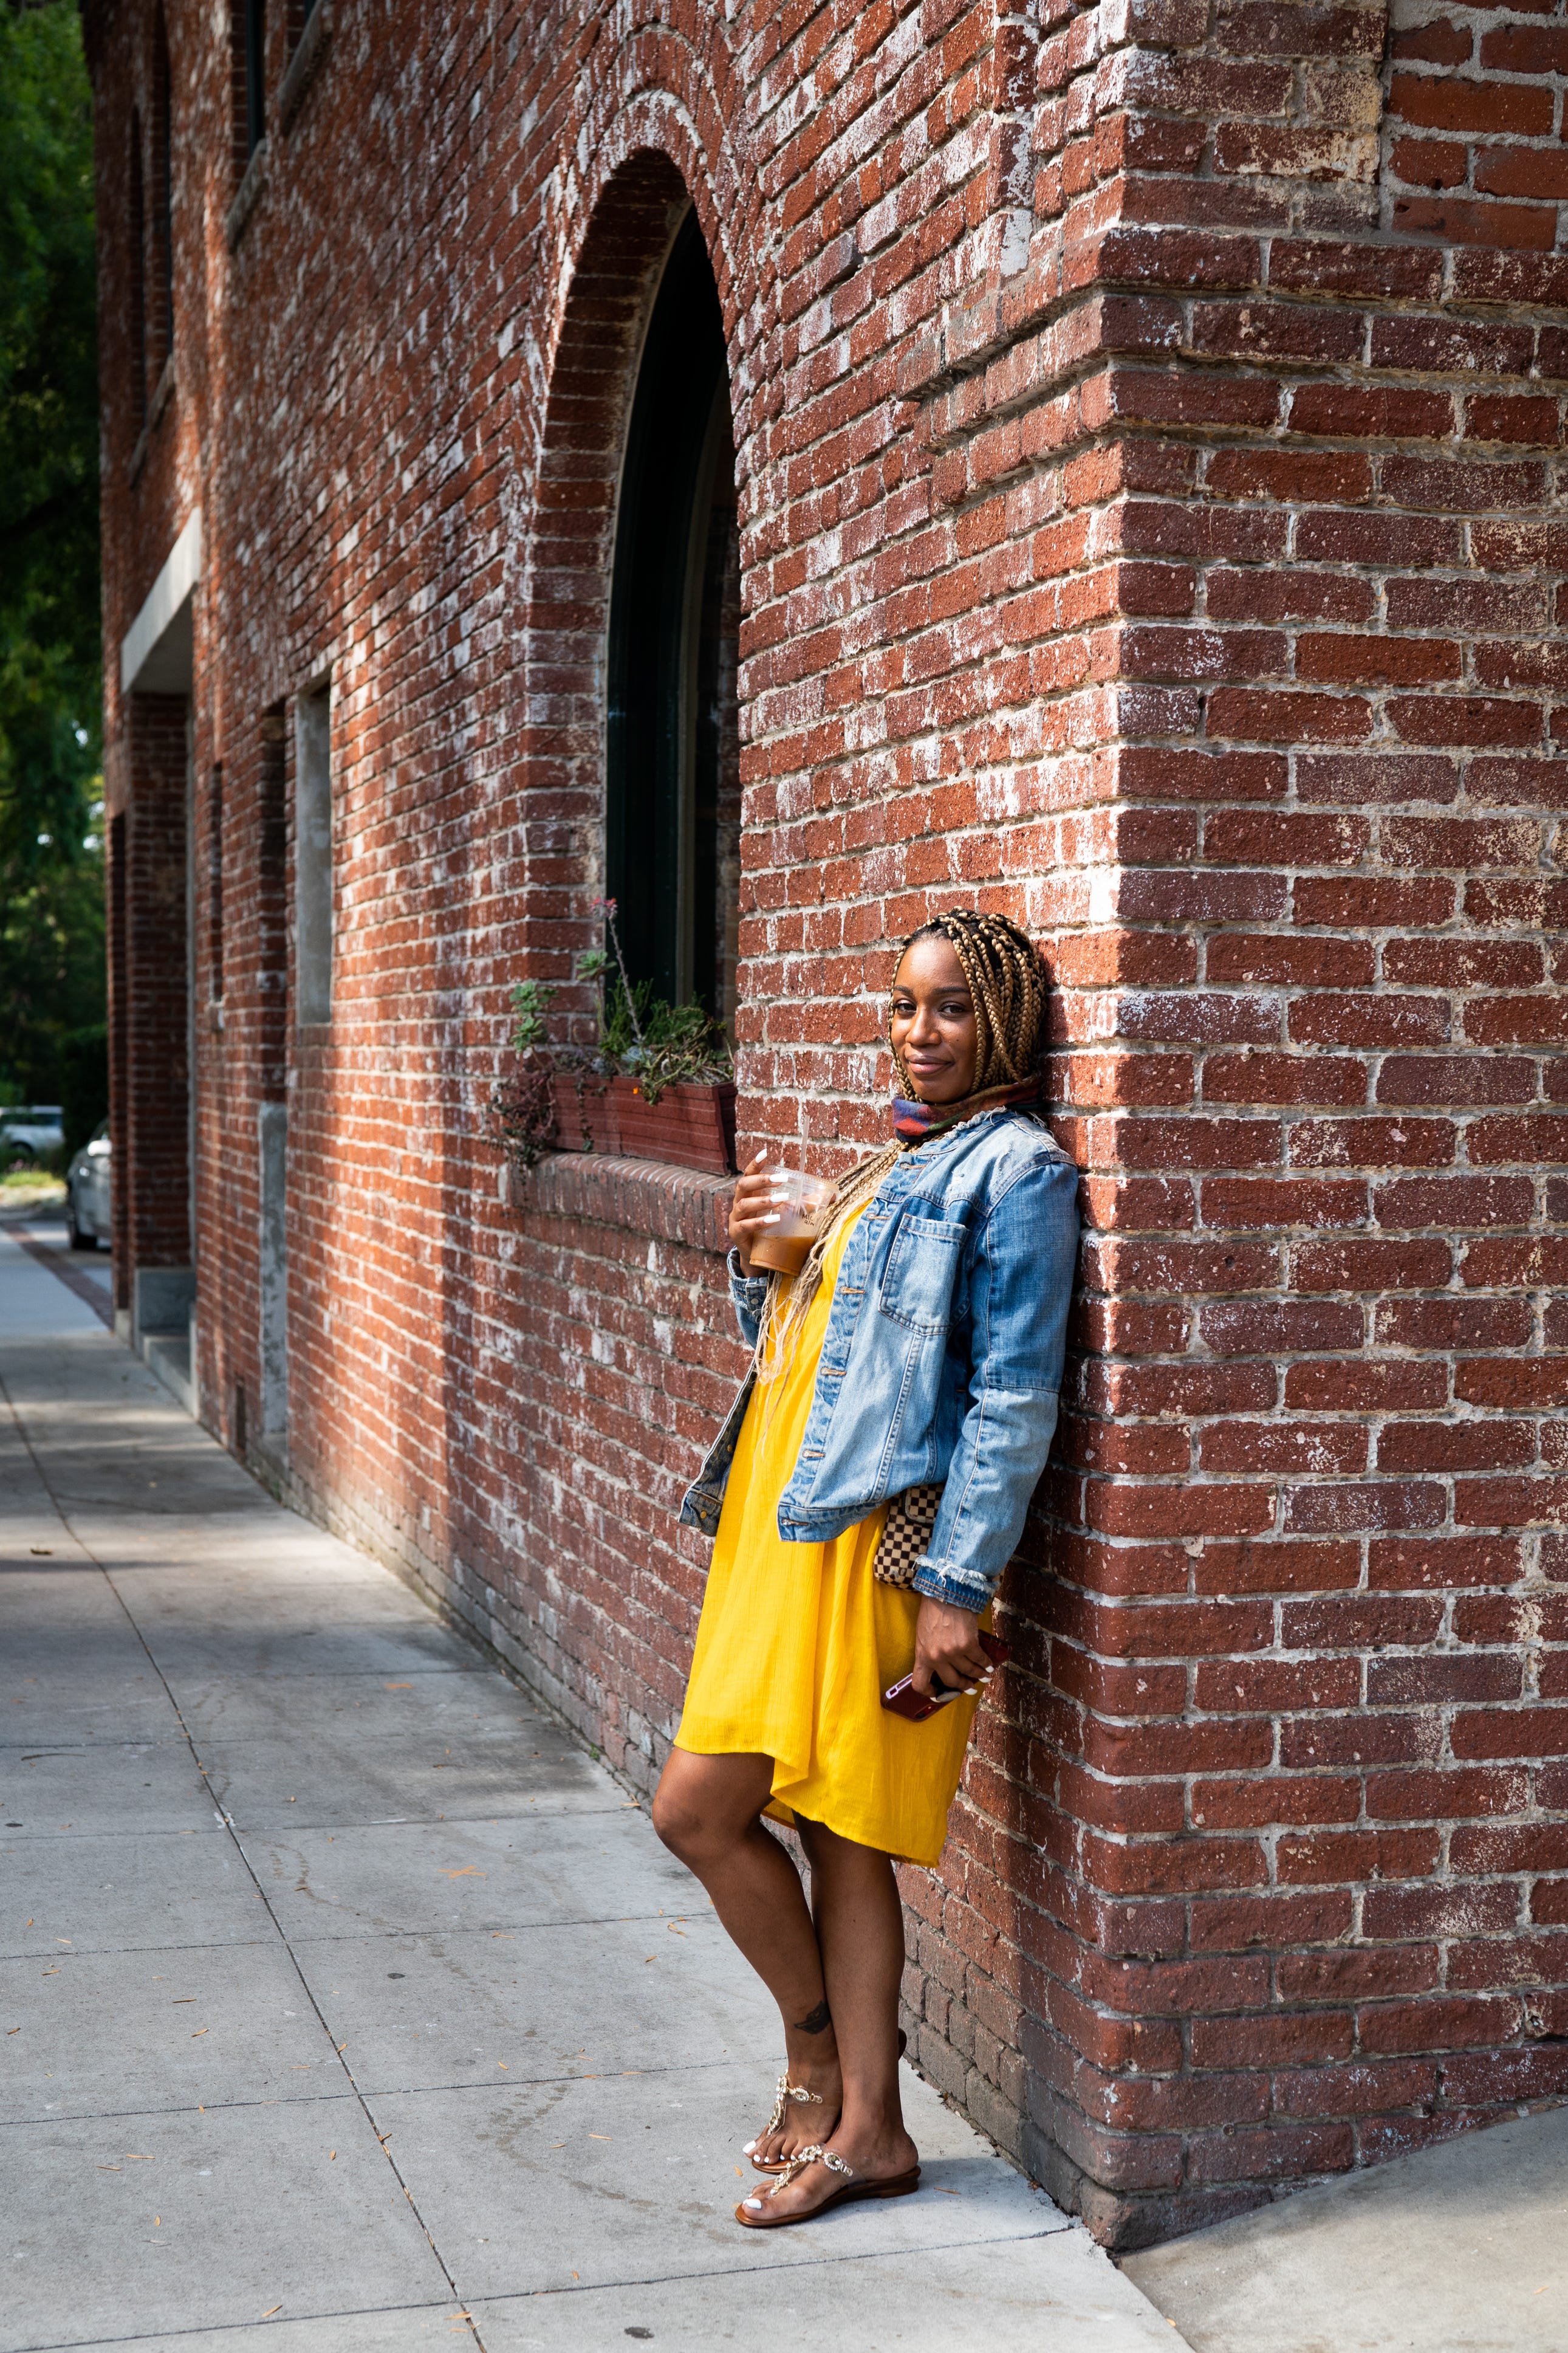
Portraits can certainly be taken straight on, but it’s often not the most flattering angle, especially for full body shots. When facing the camera straight on, a person’s body will appear larger and wider. Asking your subject to turn slightly to around 45-degrees, popping one hip and keeping their shoulders at slightly different heights can make a huge difference. This also adds interest to the composition.
When shooting small subjects like kids and pets, get down so that you are at eye level with them. Your photos will feel more natural and create a sense of intimacy.


While it’s important to consider traditional techniques, it’s also fun to experiment with the angle of the camera. Try photographing your subjects from above or from below. How does this change the emotion of the photo?


Anything that is in the foreground of a photo will appear larger. If you want to emphasize someone’s hands, for example, have the person place their hands closer the the camera. If you’d like to reduce the size of the hands, make sure they’re further away.
10. The Most Important Tip of Them All
Practice!
The more you practice and get out and shoot, the more you’ll learn. This is the single best way to elevate your portraits.

Interested in joining our community of photographers and contributing to Noun Project? Submit your photos and explore our guide to creating authentic, inclusive images.
Click here to download FREE photo shoot production document templates.
Plan your photo shoots out for the year with our free monthly photo shoot guide.
For more photography tips, check out our blog.
Sign up for our photo newsletter to make sure you never miss out on our photography content.