Choose from over 3,000 mandala icons to print out and color at home.
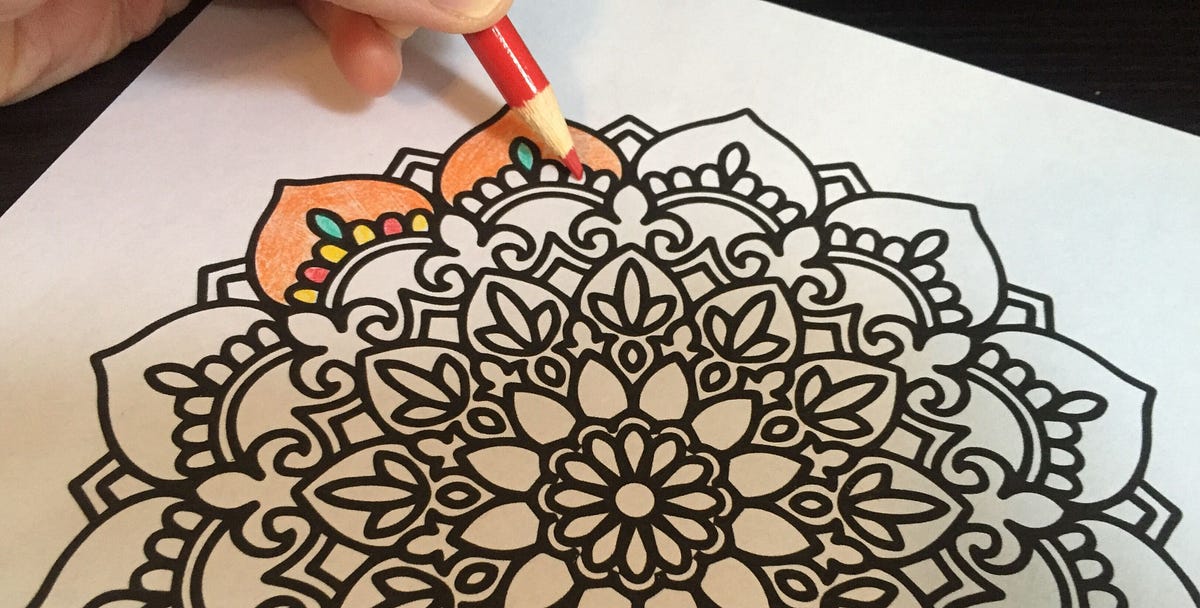
Adult coloring books have been shown to reduce levels of stress and anxiety, providing a meditative activity that calms the mind while offering a creative outlet. To help you find some zen, this tutorial will walk you through selecting mandalas on Noun Project to create your own coloring book to print at home.
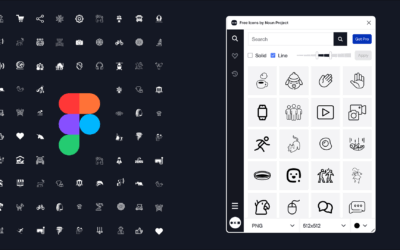
A Noun Project search for “mandala” will yield over 3,000 results for your downloading pleasure, ranging from simple to dazzlingly ornate. Something about the circular, repeating shapes lends itself to that pleasant state of creative trance to make your cares just drift away.
The easiest way to create your own curated collection? Pop over to Google Slides and make sure you have the Noun Project Add-On for Google Docs and Slides — it’s the easiest way to insert Noun Project icons directly into your Google Slides project without leaving your workflow.
Create and Print Your Custom Mandala Coloring Book
You can opt to print larger-format, one-per-page mandalas or create a booklet of facing pages. In this example, we’ll be creating the latter.
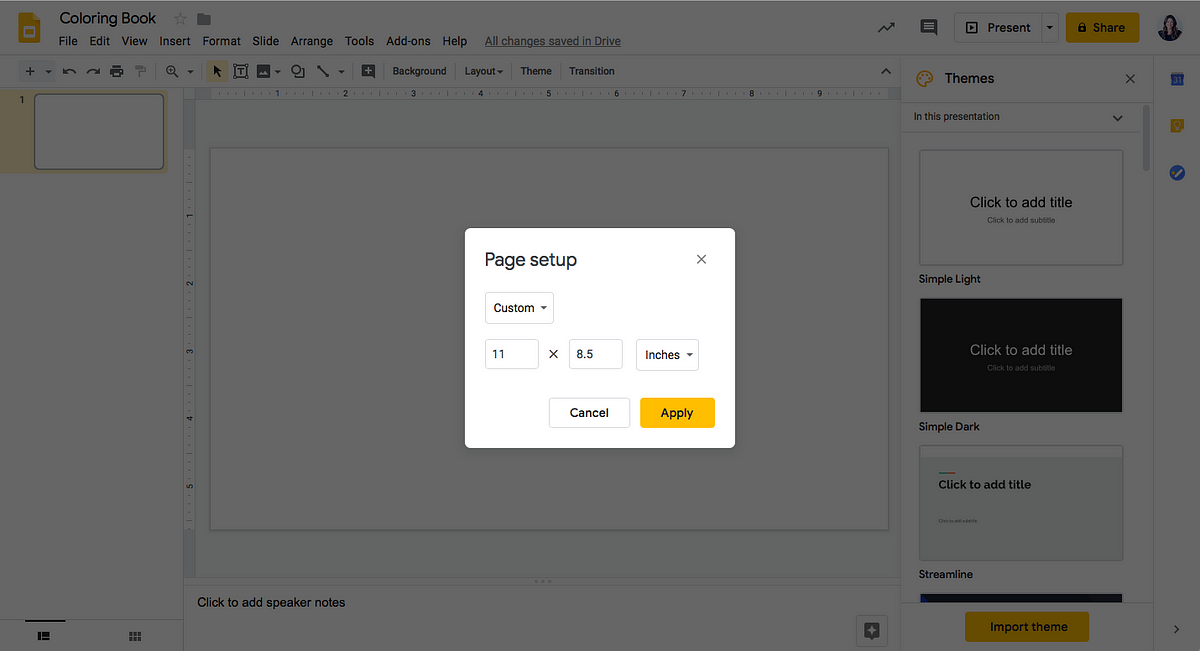
First, open Google Slides and select “Blank” from the “Start a new presentation” menu.
Next, delete the pre-populated text boxes from your slide. Then, navigate to File> Page Setup, select “Custom” from the drop-down menu and adjust the slide size to 11 x 8.5 inches for printing.
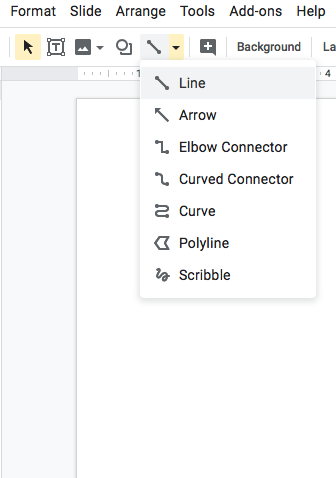
After you’ve adjusted your page size, select the “Line” tool and insert a vertical line at the 5 1/2″ mark using the ruler at the top of the page as your guide. This will be your cutting line (or folding line) when it’s time to assemble your coloring book.
Tip: Hold the Shift key while drawing your line to ensure it’s straight. Google Slides should also help “snap” your line to center by default, so look for the crosshairs that flash over your page when you’re in the right spot.
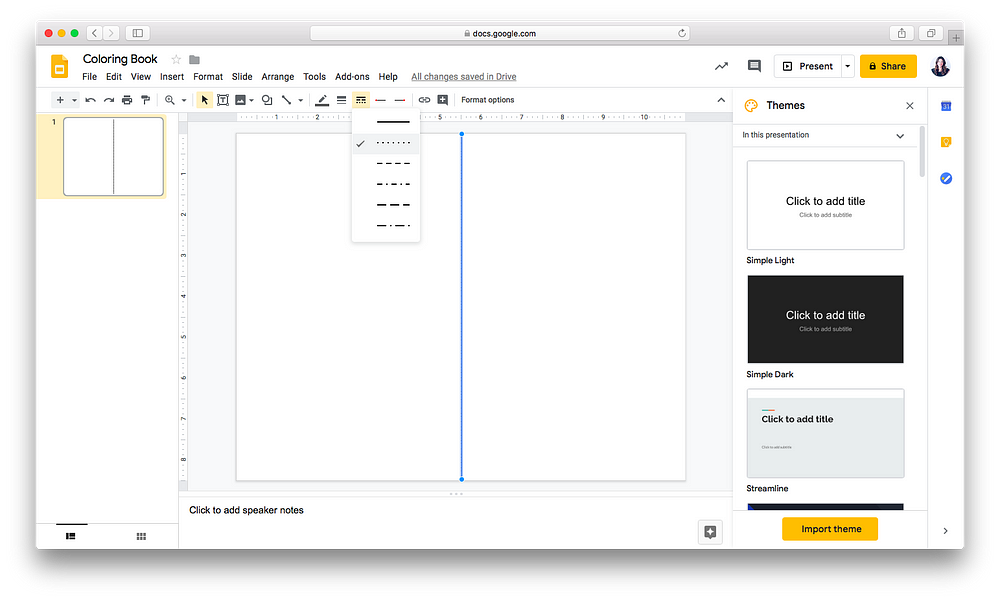
Hold down “shift” while you draw the line downwards to make sure it’s straight. Snap it to the center line, at 5.5″ across.
Once you’re happy with your page, look to the lefthand sidebar which shows an outline of the overall document. You can select the current page so it’s highlighted, then hit Alt-D to duplicate the slide as many times as you want.
Search and Insert Your Mandala with Noun Project’s Google Slides Add-On
Once you’ve set up your document, open the Noun Project Add-On (from the Add-On menu in the toolbar) and log in to your Noun Project account.
Note: An Icon Pro account will give you a more robust set of features, including the ability to color and resize icons, and search any of the millions of icons available.
Search for “Mandala,” hit enter, and find a mandala you like. While hovering over the icon you’d like to use, a small “download” icon will appear — you can either click on that, or click on the mandala icon itself and hit “insert” to add it to your page.
As an Icon Pro subscriber, you’ll also have a suite of customization options — you can, for example, start with larger mandalas at 1000 pixels wide and scale them down as you see fit. Want to add a bit of color variety? You can also change the color of each mandala using the colored buttons under “Insert Icon.” Hitting the “+” button will let you pick a more precise color from an RBG spectrum, color sliders, or entering the HEX # of a color you like.
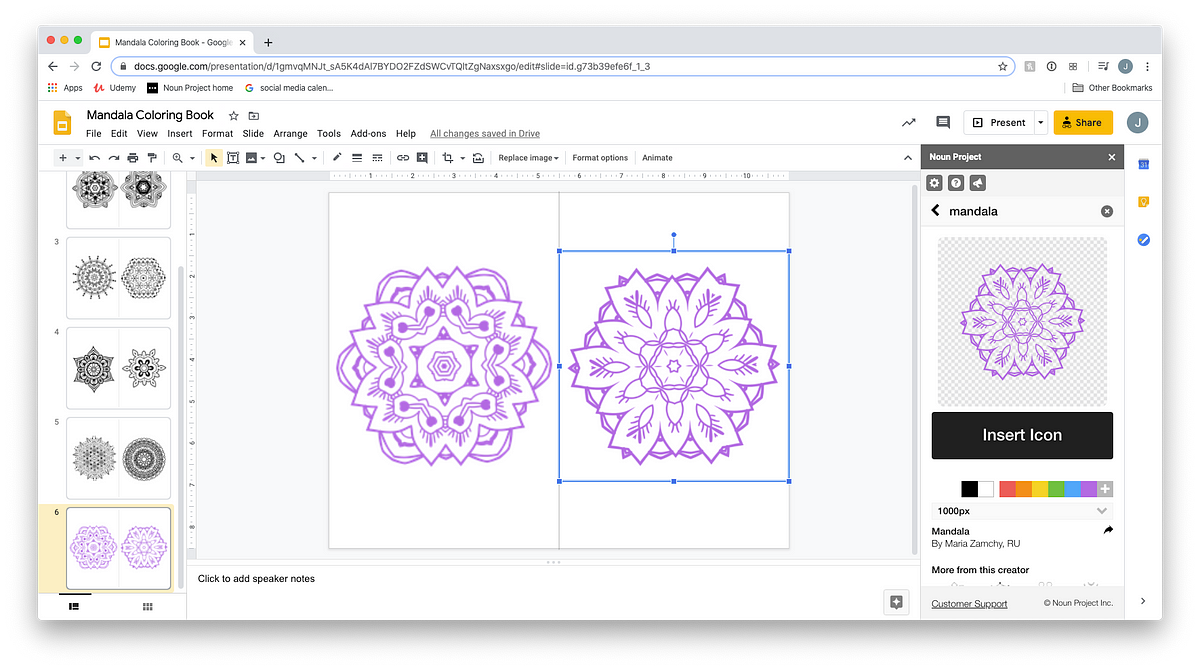
With the Google Slides Add-On, all you have to do is search, insert, and put your mandalas into position. With Icon Pro, you can also change an icon’s color and enjoy unlimited downloads.
To change the size of each mandala on the slide, simply click on it so you see a blue bounding box. Click and drag one of the corners inwards, making sure to hold down “Shift” as that will scale it proportionally.
Once you’ve populated as many pages as you want with mandalas you love, just hit print and you’re ready to start coloring! You can cut along the center line and staple the pages together to create a book, or simply color as you please with pencils, pastels, or your medium of choice.
You can build your own book from scratch by following these steps, or use this free template to help you get started.