Planning a stock photo shoot can be an exciting and creative endeavor. In this article, we’ll walk you through how to create the perfect photo shoot, from concept to completion.
Use these free photo shoot production document templates, including a sample deck, budget, shot list and call sheets, from Noun Project to help organize your photo shoots.
Step 1: Research
The first step in creating a successful stock photo shoot is to do research on content topics and targeted audiences.
Researching content topics ahead of time will give you an idea of what types of images are popular. Many stock photo websites have a section for popular or trending images. You can browse through these sections to see what images are currently selling. If you’re looking for stock photos that are popular in a specific industry or niche, you can check industry publications or blogs to see what images are being used in articles and marketing materials.
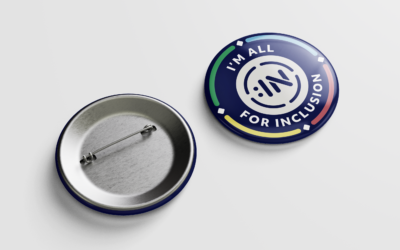
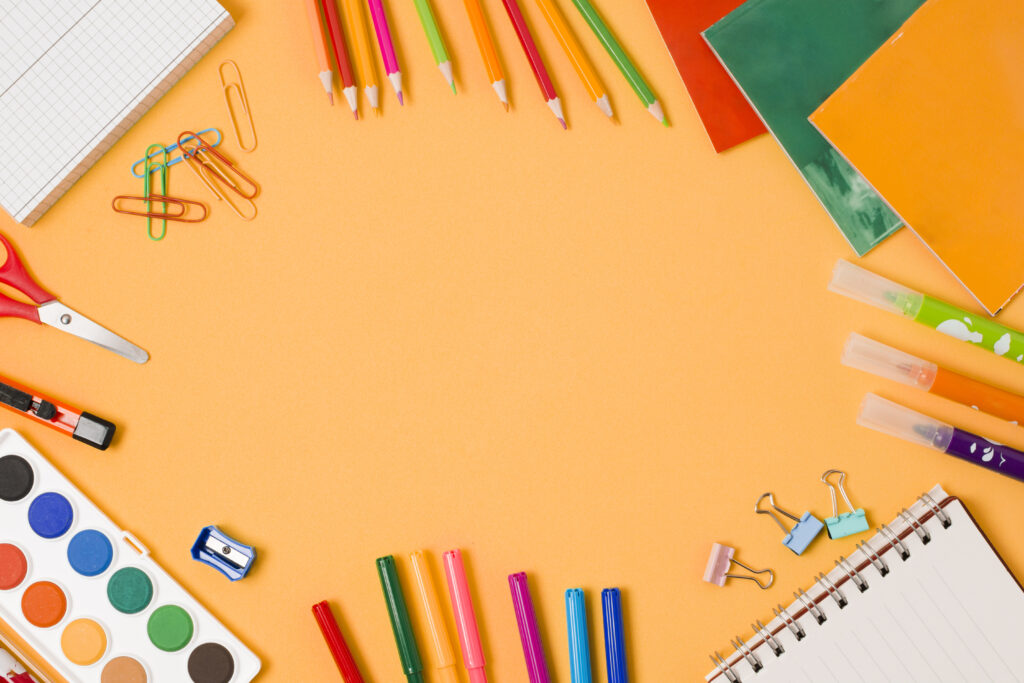
Additionally, researching the audience you are trying to reach can help you create images tailored to their interests and needs–and what types of images are desired by stock photo users. For example, at Noun Project, designers who download images from our site often choose photos with copy space for mock ups, pitches or social media posts. Business people may look for images of diverse people for presentations. Educators look for photos such as students, teachers, classrooms, and flat lays with school supplies.
Researching the audience you are trying to reach can help you create images tailored to their interests and needs—and knowing the purpose and goals of the photo shoot will help you decide on the type of images to create, best location and the needed equipment.
Step 2: Determine Your Budget
Determining your budget is an essential step to creating a successful photo shoot. Sourcing a location, gear, lighting, fees will need to be considered. If you hire models and/or a team to work with you, they will require payment for their time and expertise. However many shoots can be created by using gear you already own, by shooting at a free location and by asking friends to assist you.

Step 3: Create a Theme or Concept
A theme in a photo shoot refers to a specific concept or idea that inspires the overall look and feel of the photos for a cohesive outcome. The theme helps guide the creative direction, selection of clothing, props, location, lighting and post production editing. A theme can be based on a particular subject, a season, emotion, location, time period, or any other creative concept that the photographer wants to convey through the photos.
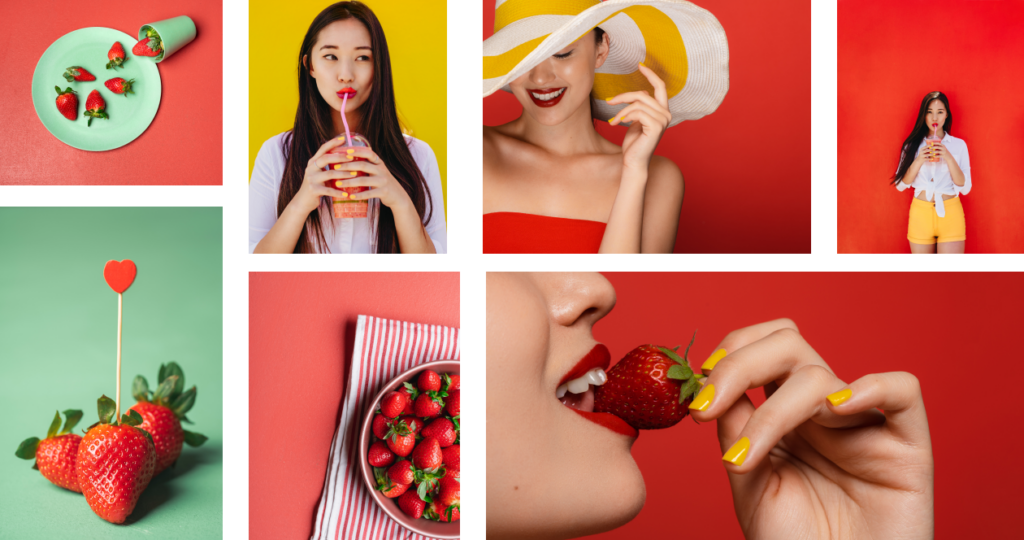
For example, a theme could be “Beauty in Nature,” where the photographer focuses on capturing the natural beauty of a particular location, such as a forest or beach. Another idea for a theme could be “Bright and Bold” where the images are inspired by strong colors and color combinations.
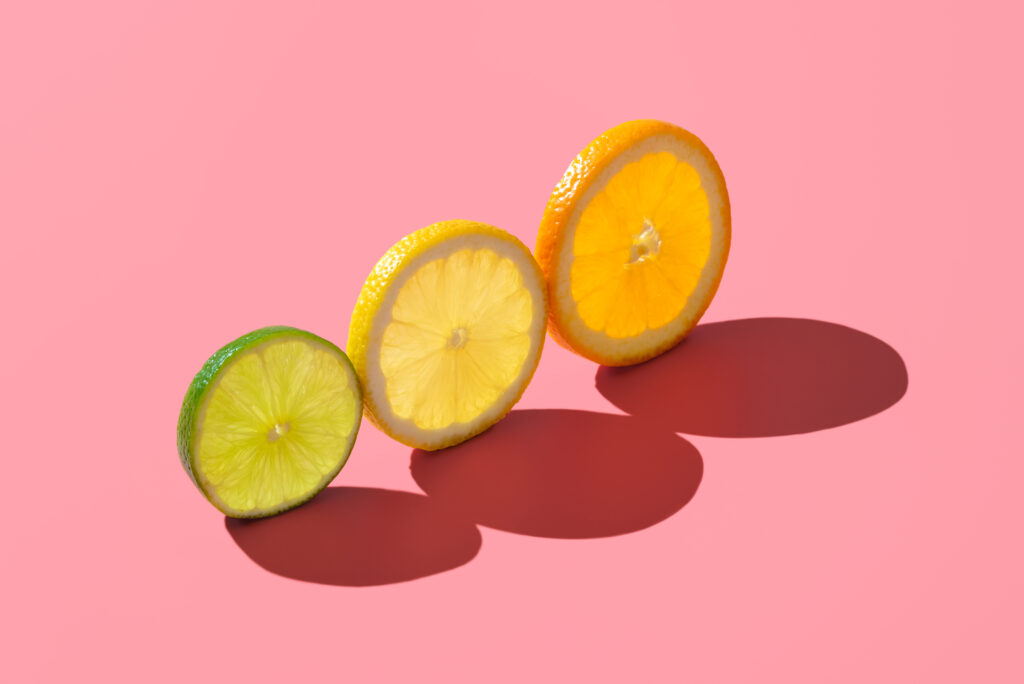
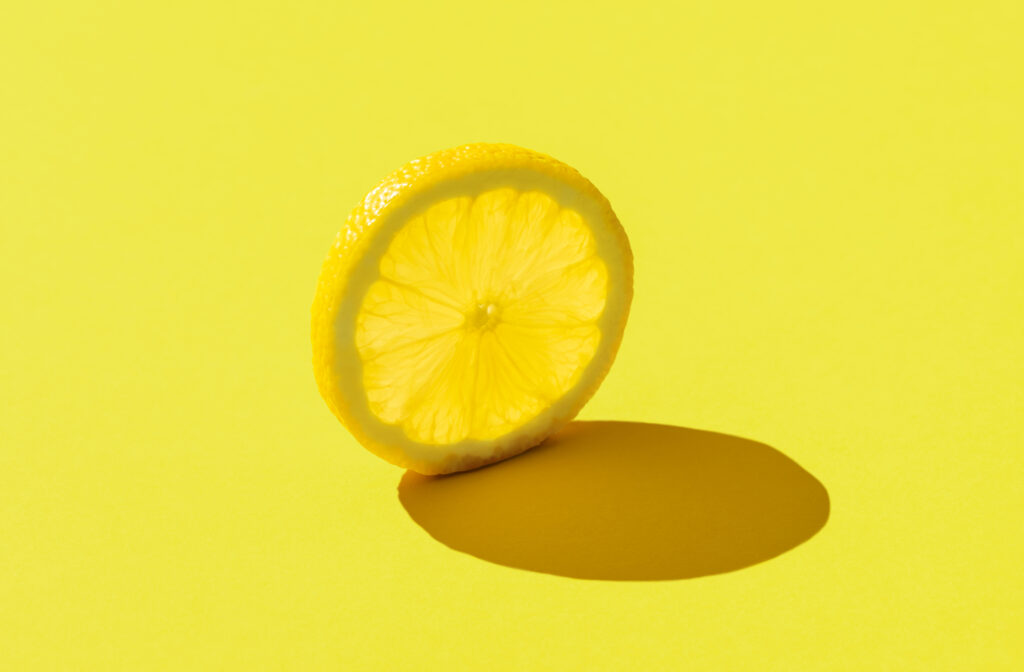

Lemon photo and lime photo by Yes Photographers
Step 4: Create a Mood Board to Guide the Look and Feel
A mood board for a photo shoot is a visual tool that photographers and creative teams use to communicate and develop the look and feel they want to achieve for their photo shoot.
Creating a mood board can be an essential part of the pre-production process, as it helps to align the creative vision of the photographer, stylist, hair and makeup artist, and any other team members involved in the shoot. It also helps to make sure that all of your ideas are cohesive and match the overall theme because you can see all of your inspiration in one place.
Photos by Yes Photographers and Jacob Lund
A mood board can include anything from specific poses, lighting techniques, and camera angles to the overall mood, color palette, and aesthetic of the shoot. By using a mood board, photographers can communicate their vision to the creative team and ensure that everyone is working towards the same creative goal. It can also serve as a reference point during the shoot to ensure that everyone is on track and capturing the desired aesthetic.
Step 5: Create a Shot List or Storyboard
Prior to the photo shoot, it’s essential to create a shot list or storyboard. A shot list is a detailed list of all the images you want to capture, while a storyboard is a visual representation of the shots you want to create
Creating a shot list before a photo shoot is important because it helps to ensure that all necessary images are created and that time is used efficiently. It also helps to avoid missing any important shots, especially if there are time constraints or other limitations. The shot list can serve as a reference for the photographer and other members of the creative team and can help to keep everyone on the same page during the shoot.
Creating a storyboard is helpful in a photo shoot because it helps to plan out the shots and ensure that the final product matches the intended message or story. It allows for better communication between the photographer, art director, and other members of the creative team, and helps to identify any potential issues before the shoot takes place.
Step 6: Choose a Location and Time of Day
Once you have a clear understanding of the purpose and goals of the photo shoot, it’s time to choose a location and time of day. The location you choose will depend on the type of images you need, whether you need an indoor or outdoor shoot, and the kind of background you want. The time of day will also have a significant impact on the type of lighting and mood of the images.
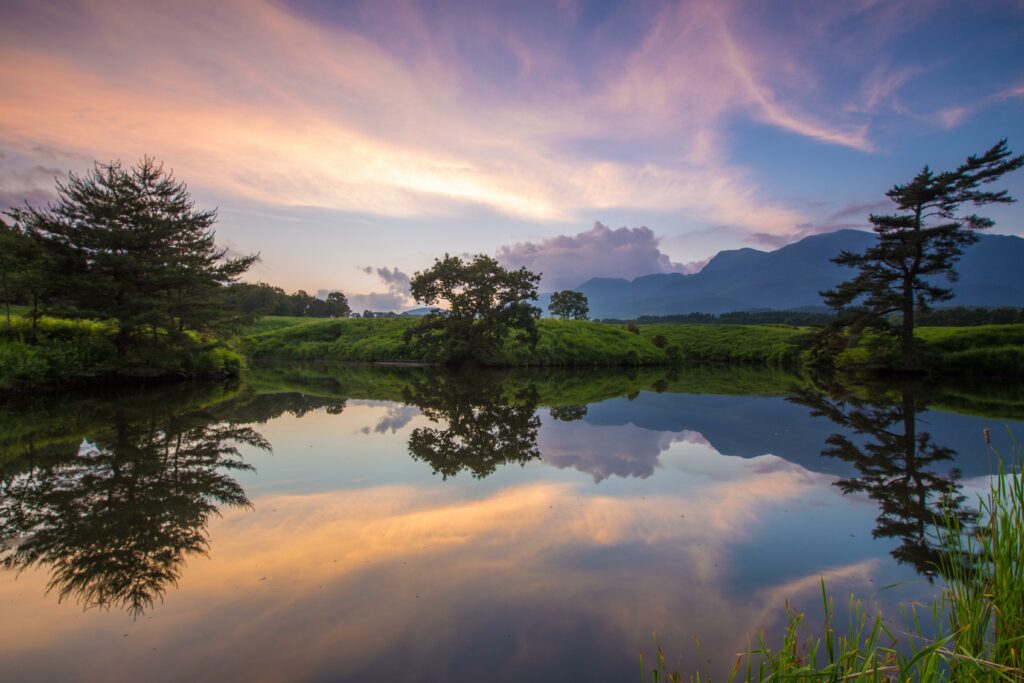

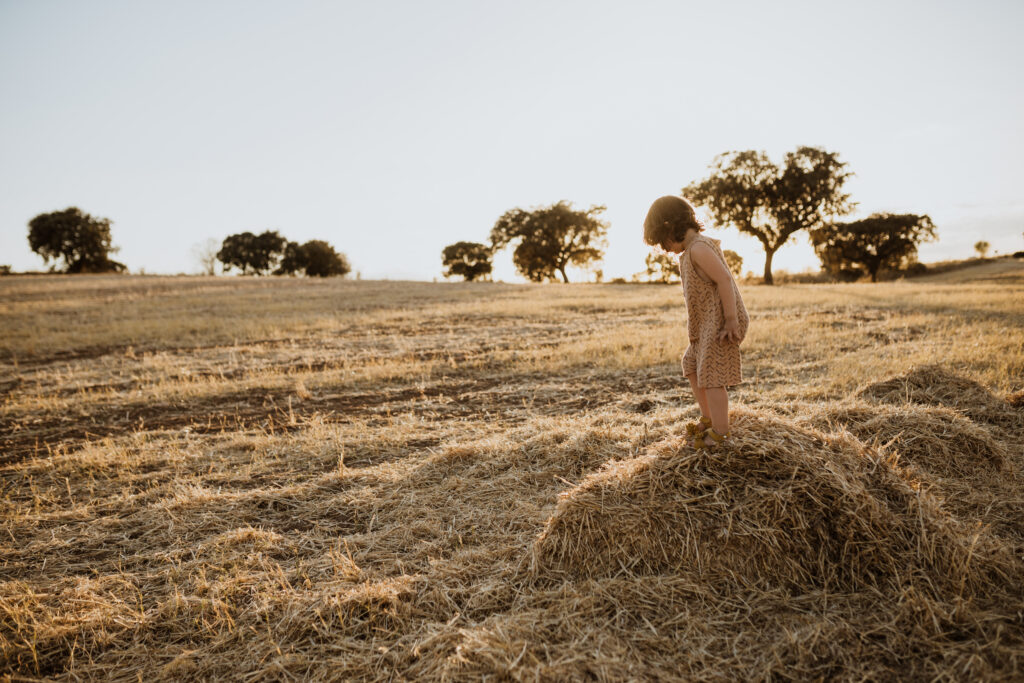
Photo from Scopio // Photo by The Blossom Co.
For example, if the aesthetic of the shoot is natural light that flatters the models, shooting mid day in the sun will produce harsh and unflattering shadows on the model’s face. One of the best times to photograph people for the most flattering light is the “blue hour,” which is about an hour before sunrise or just after sunset. The “golden hour,” just before sunset, is popular for outdoor shoots as it provides a soft, warm, golden glow to images and is flattering to a person’s or model’s face.
The golden hour is a period of time just after sunrise or just before sunset when the sun is low in the sky and the light is soft and warm. It is a popular time for photographers to take outdoor shots because the light can add a warm, golden glow to the photo, and can also create long, dramatic shadows.


Step 7: Decide on the Type of Equipment Needed
The equipment you need will depend on the type of images you’re looking to create. For example, if you’re shooting outdoors, you might need a reflector to bounce light onto your subject. If you’re shooting in a studio, you’ll need lighting equipment, backdrops, and a camera.
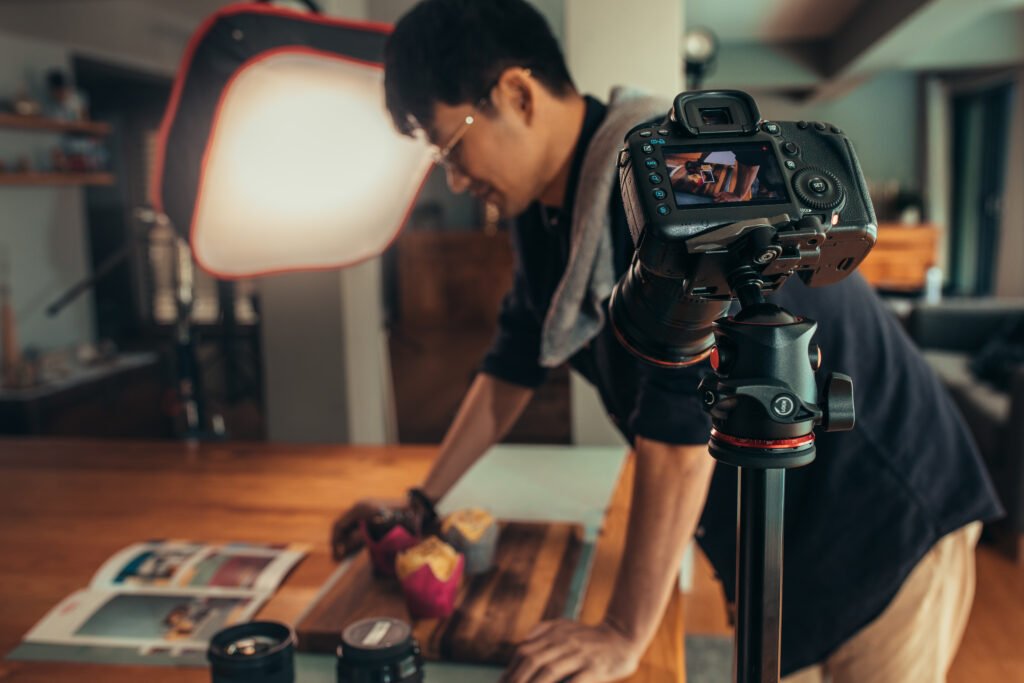

Photo of man styling food and photo of man photographing food by Jacob Lund
Review your gear and decide if you will need additional equipment to achieve the desired outcome for your photo shoot. Purchasing gear can be a great investment in the long run, however if your budget does not allow for buying new equipment, you can rent equipment at a local camera store or online.
Step 8: Hire or Gather Models and Props
If you’re planning a photo shoot that involves models, there are several options. You can work with a modeling agency to source models or reach out to individuals who fit the look you’re going for. Sometimes, friends and family are game! Make sure that any person who is photographed in the shoot signs a model release.
If you’re shooting with props, gather what you’ll need for the shoot ahead of time so that you’re ready to go on the day of the shoot.
Step 9: Coordinate with the Team and Communicate the Plan
Finally, if you’re working with a team to create the photoshoot, it’s essential to coordinate and communicate the plan. Creating and sharing a photo shoot deck with your team will help everyone get on the same page of what to expect for the shoot. Ensure that location, timing and any other necessary details are shared ahead of the shoot to help things run smoothly, including the shot list and mood board. Even when shooting solo, a mood board, shot list and schedule can still help the shoot stay on track and optimize time.
Send out a call sheet at least one day ahead of the shoot. A call sheet details the when, where, and who of the production, providing the entire team with a schedule, contact information, and other logistical details.

After the Photo Shoot
Immediately after the shoot, transfer your images onto a hard drive and upload them to the cloud. Nothing can ruin a photo shoot more than having no pictures to show for it!
When editing your images, straighten crooked horizons or lines, remove dust marks, remove logos and make basic color corrections. Be sure to add relevant keywords and clear and descriptive titles in the metadata of your images.
After editing is complete, determine which stock sites you will submit your images to and read up on their procedures and requirements on submissions. Make sure to review which licenses are offered to understand how your images can be used after purchase by customers.
Creating photos for a stock site generally has the optimal goal of selling images for passive income. Each stock photo marketplace has its own royalty or payout structure, which is how they pay out photographers on sales.
Final Thoughts
Creating a successful photo shoot for stock images involves careful planning. Following these steps and utilizing Noun Project’s free photo shoot production templates can support the best outcome possible in your shoot.
Interested in joining our community of photographers and contributing to Noun Project? Submit your photos and explore our guide to creating authentic, inclusive images.
Plan your photo shoots out for the year with our free monthly photo shoot guide.
For more photography tips, check out our blog.
Sign up. for our photo newsletter to make sure you never miss out on our photography content.