Love is in the air, icons are numbering in the millions, and the creative platform formerly known as Adobe Spark has recently reemerged as the beginner-friendly (and still free) Adobe Express.
If you’re looking for a quick, simple, fully-customizable, and free way to send an adorable Valentine’s Day greeting, here’s our guide to creating amazing graphics with Noun Project icons in Adobe Express.
Any Icon at Your Fingertips with Icon API
Noun Project proudly hosts millions of icons – and a search for “Love,” “Heart,” or “Valentine” will yield tens of thousands of results in different shapes, sizes, stroke weights and styles depending on your ideal aesthetic. Start your search to get inspiration on nounproject.com, or browse through some of our favorite Valentine’s collections by distinctive creators:


Many apps and web platforms subscribe to Noun Project’s Icon API service to make our icons freely available to their users. That means you can search and instantly insert and customize icons within your favorite apps (including the Adobe suite) without having to leave your workflow. (Pro tip: an Icon Pro subscription will give you unlimited icon downloads and customizations across the website and all apps and plugins).
How to Get Started Designing in Adobe Express
Head to adobe.com/express to get started. You’ll need to log in or create a new account to use the software, though you won’t need to provide credit card details (note: a Premium version of the software comes with additional templates, storage, and functionality, and is available for a 30-day free trial).
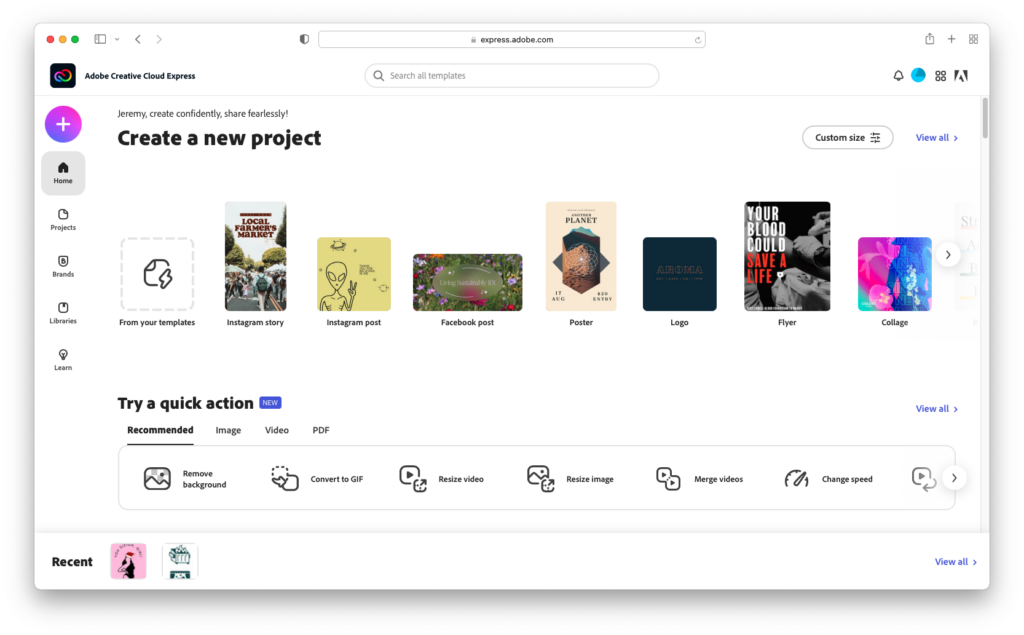
Once you’re logged in, the homepage offers an array of the most common templates – from social tiles to flyers, resumés and more. You can use the search bar to find templates to fit a specific style or theme, like Valentines Day – just plug in “Valentine” and you’ll find hundreds of templates at the ready.
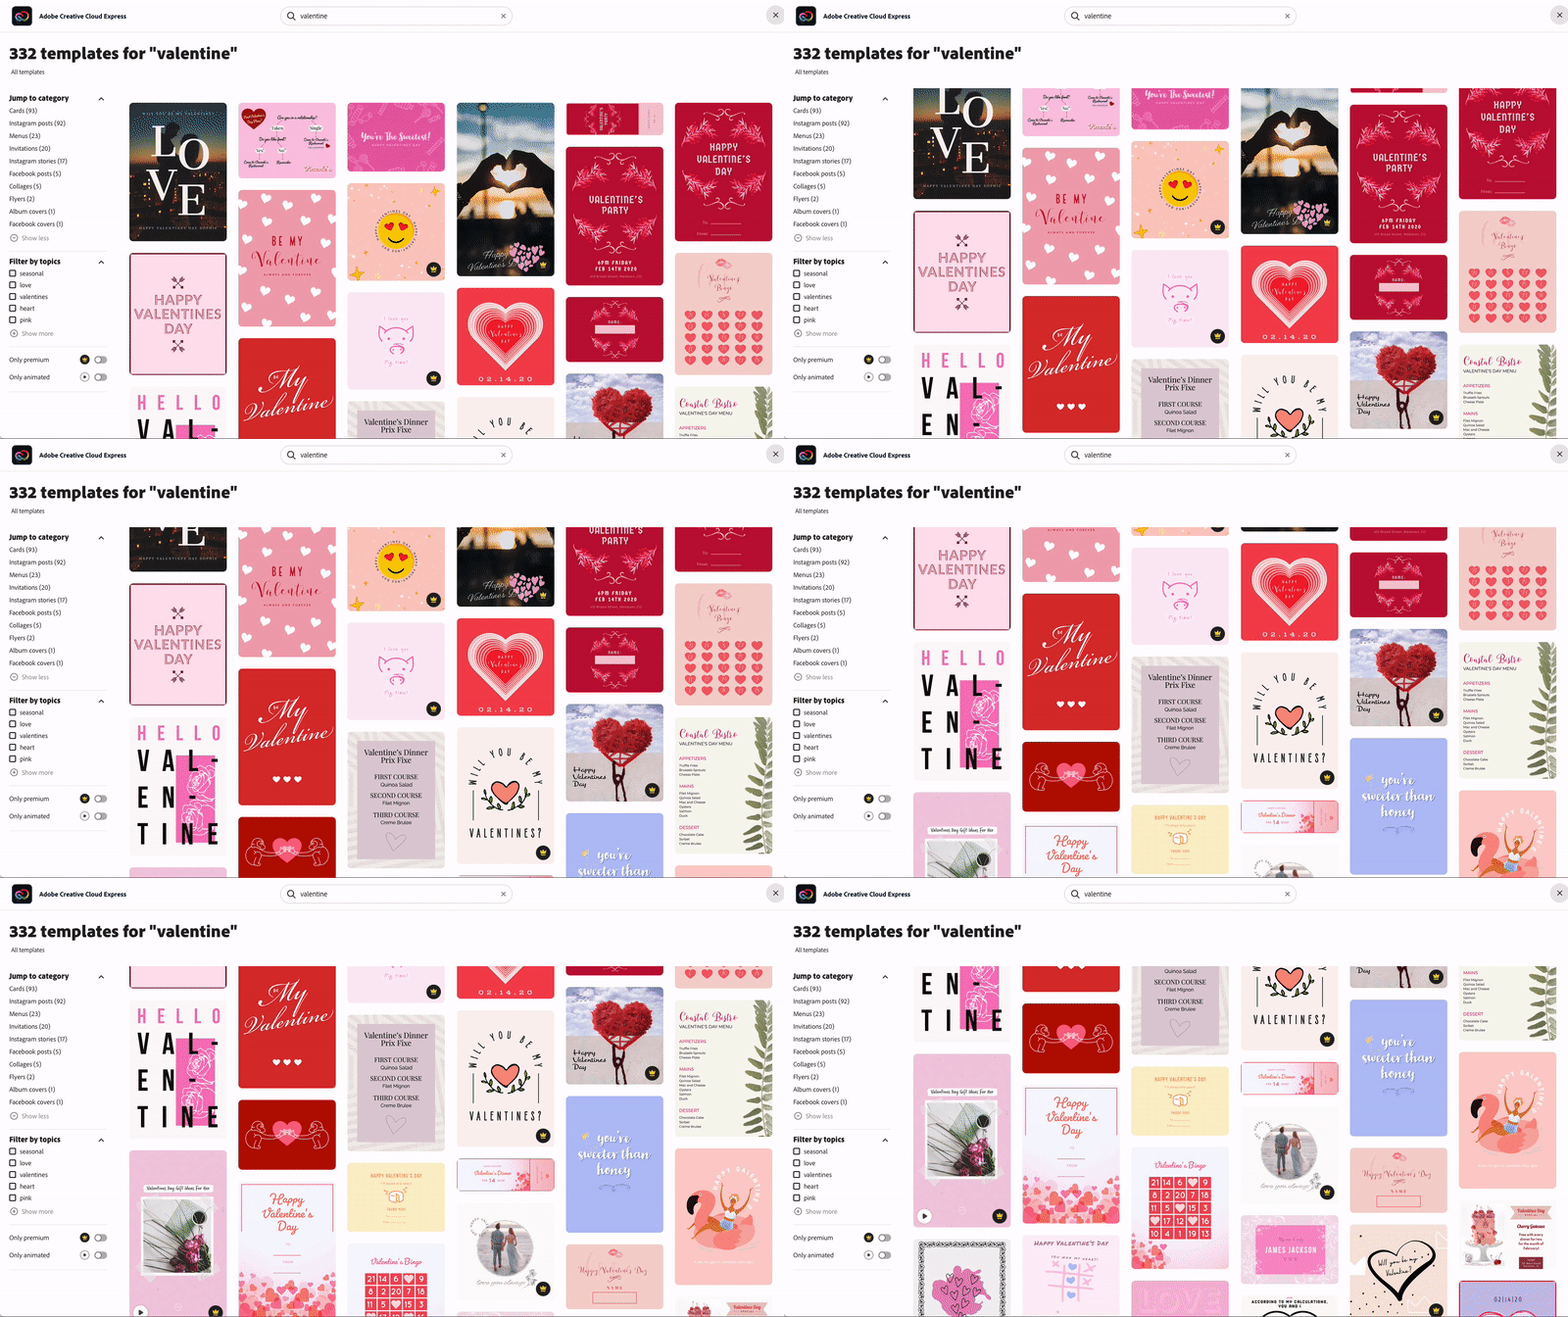
Click a template that suits your fancy – or use the big “Plus” button in the upper-left to create your own from scratch. Make sure it has the proper dimensions for whatever format you’re envisioning (square Instagram post, rectangular greeting card, or other).
Once you’ve selected a template, you’ll find each one is designed with an array of elements – text, icons, background colors and other graphics.
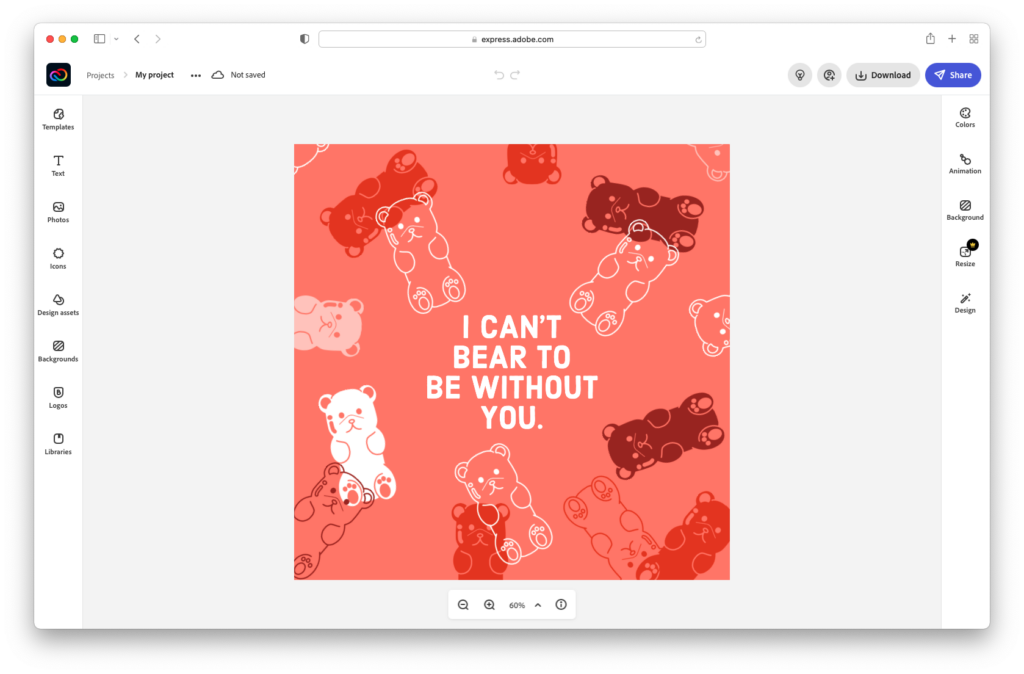
The simple and intuitive interface makes it easy to add and adjust elements. You can add new elements (text boxes, photos, icons and more) along the left-hand menu, or make adjustments (such as changing the background color) from the right-hand side.
How to Design Your Digital Valentine
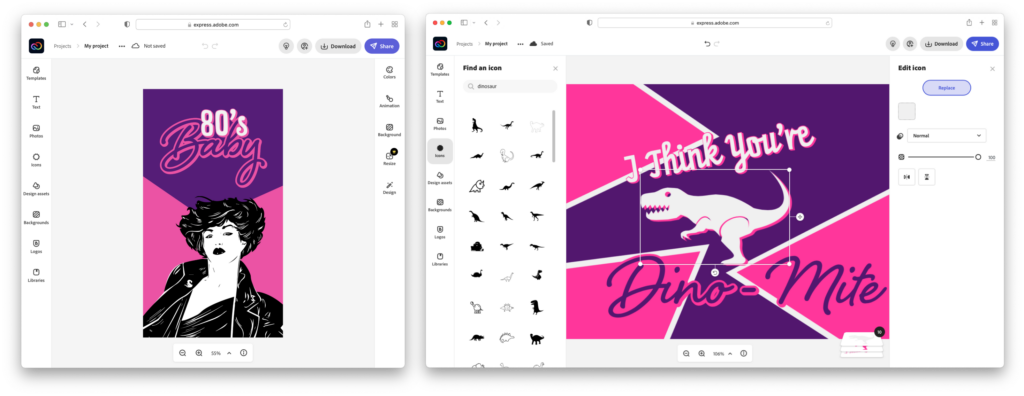
Clicking the “Icons” button on the left will pull up Noun Project’s full library of icons to choose from. Click any icon result in the window and it’ll be added to the canvas. When you click an icon on the canvas, you’ll see that you can replace it with another icon or recolor it in the right-hand panel. You can also use the bounding box to proportionally scale the icon (grabbing from the box’s corners) or maneuver and rotate it.
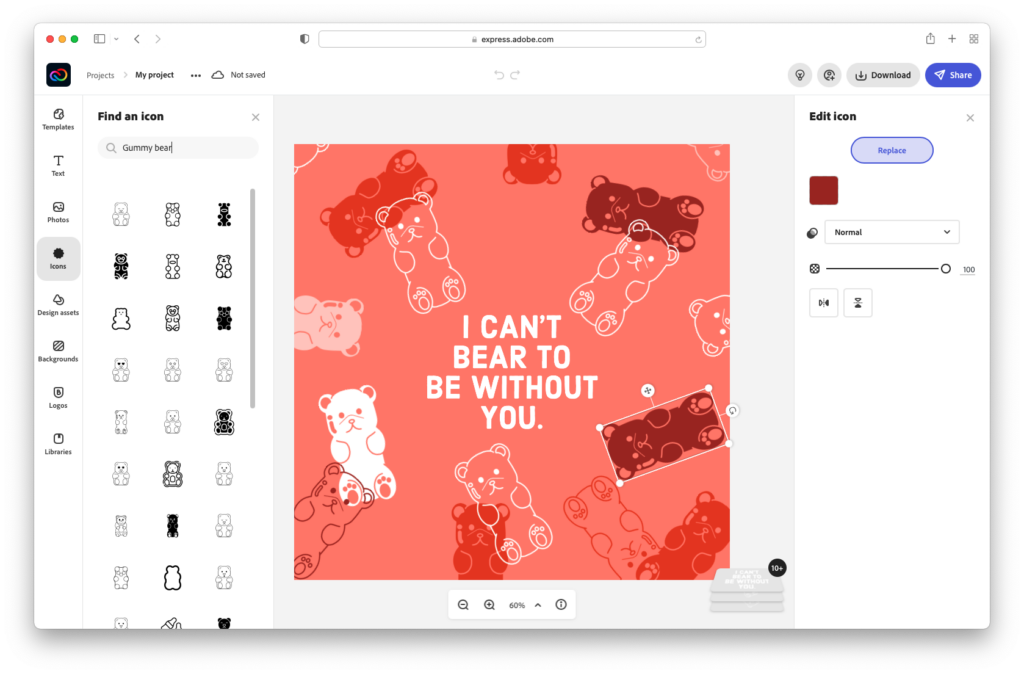
With an icon selected, you’ll also see your Layers panel appear in the lower right corner.
Clicking the stacked layers icon, you’ll be able to see the order of your elements and can click and drag each layer to go on top of or beneath another.
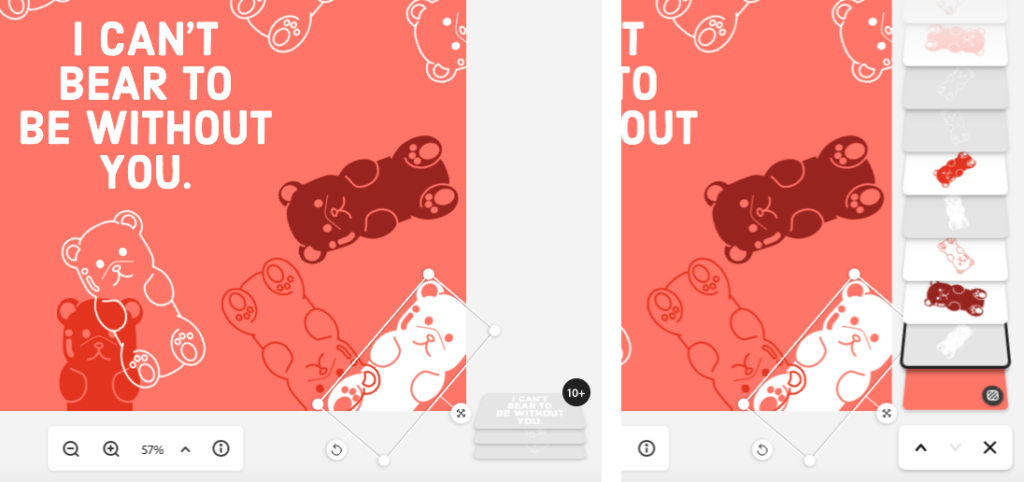
Best of all, Adobe streamlines the creative process by giving you recommended color palettes that work more harmoniously than choosing hues at random.
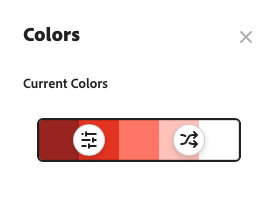
Click “Colors” on the right-hand menu and you’ll see the template’s current color scheme and a choice of other popular color harmonies. Want to swiftly try out a new scheme? Hit the “Shuffle” button to instantly recolor your artwork.
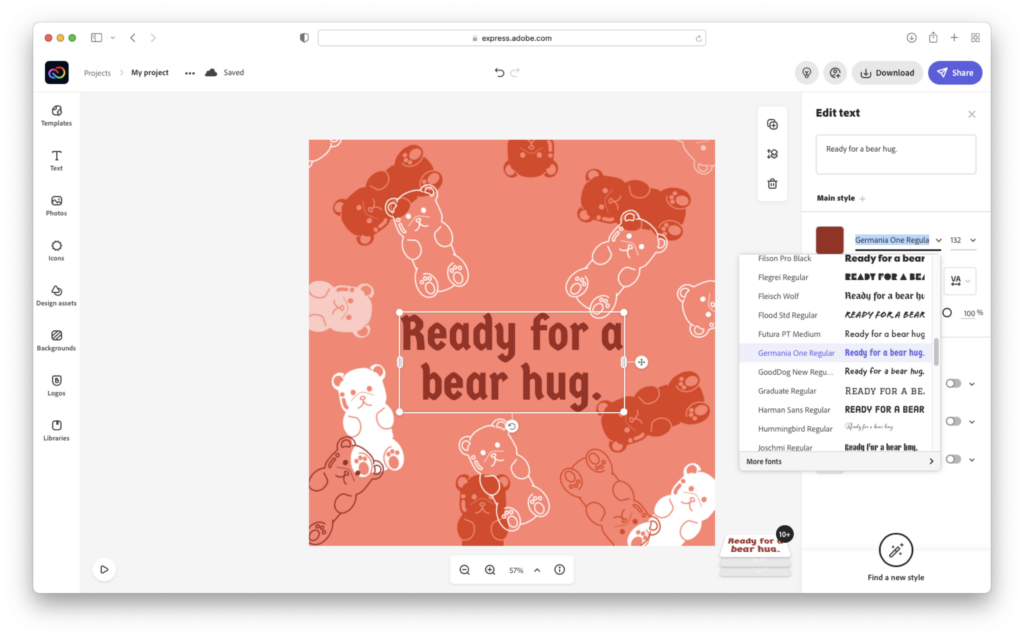
Want to change the text or pick a new font? Select “Text” on the left-hand menu or an existing text box on your canvas, and you can replace the text or font within the right-hand window. The text window gives you simple resizing, spacing, recoloring, and alignment capabilities.
Exporting Your Work
Ready to share your finished product? Adobe Express auto-saves all your work so you don’t have to worry about losing progress. When you’ve gotten your Valentine to where you want it, click “Download” in the upper-right corner and you can instantly download the file as a JPG, PNG, or PDF. The “Share” button also allows you to instantly share it on social media, Google Classrooms, and more.
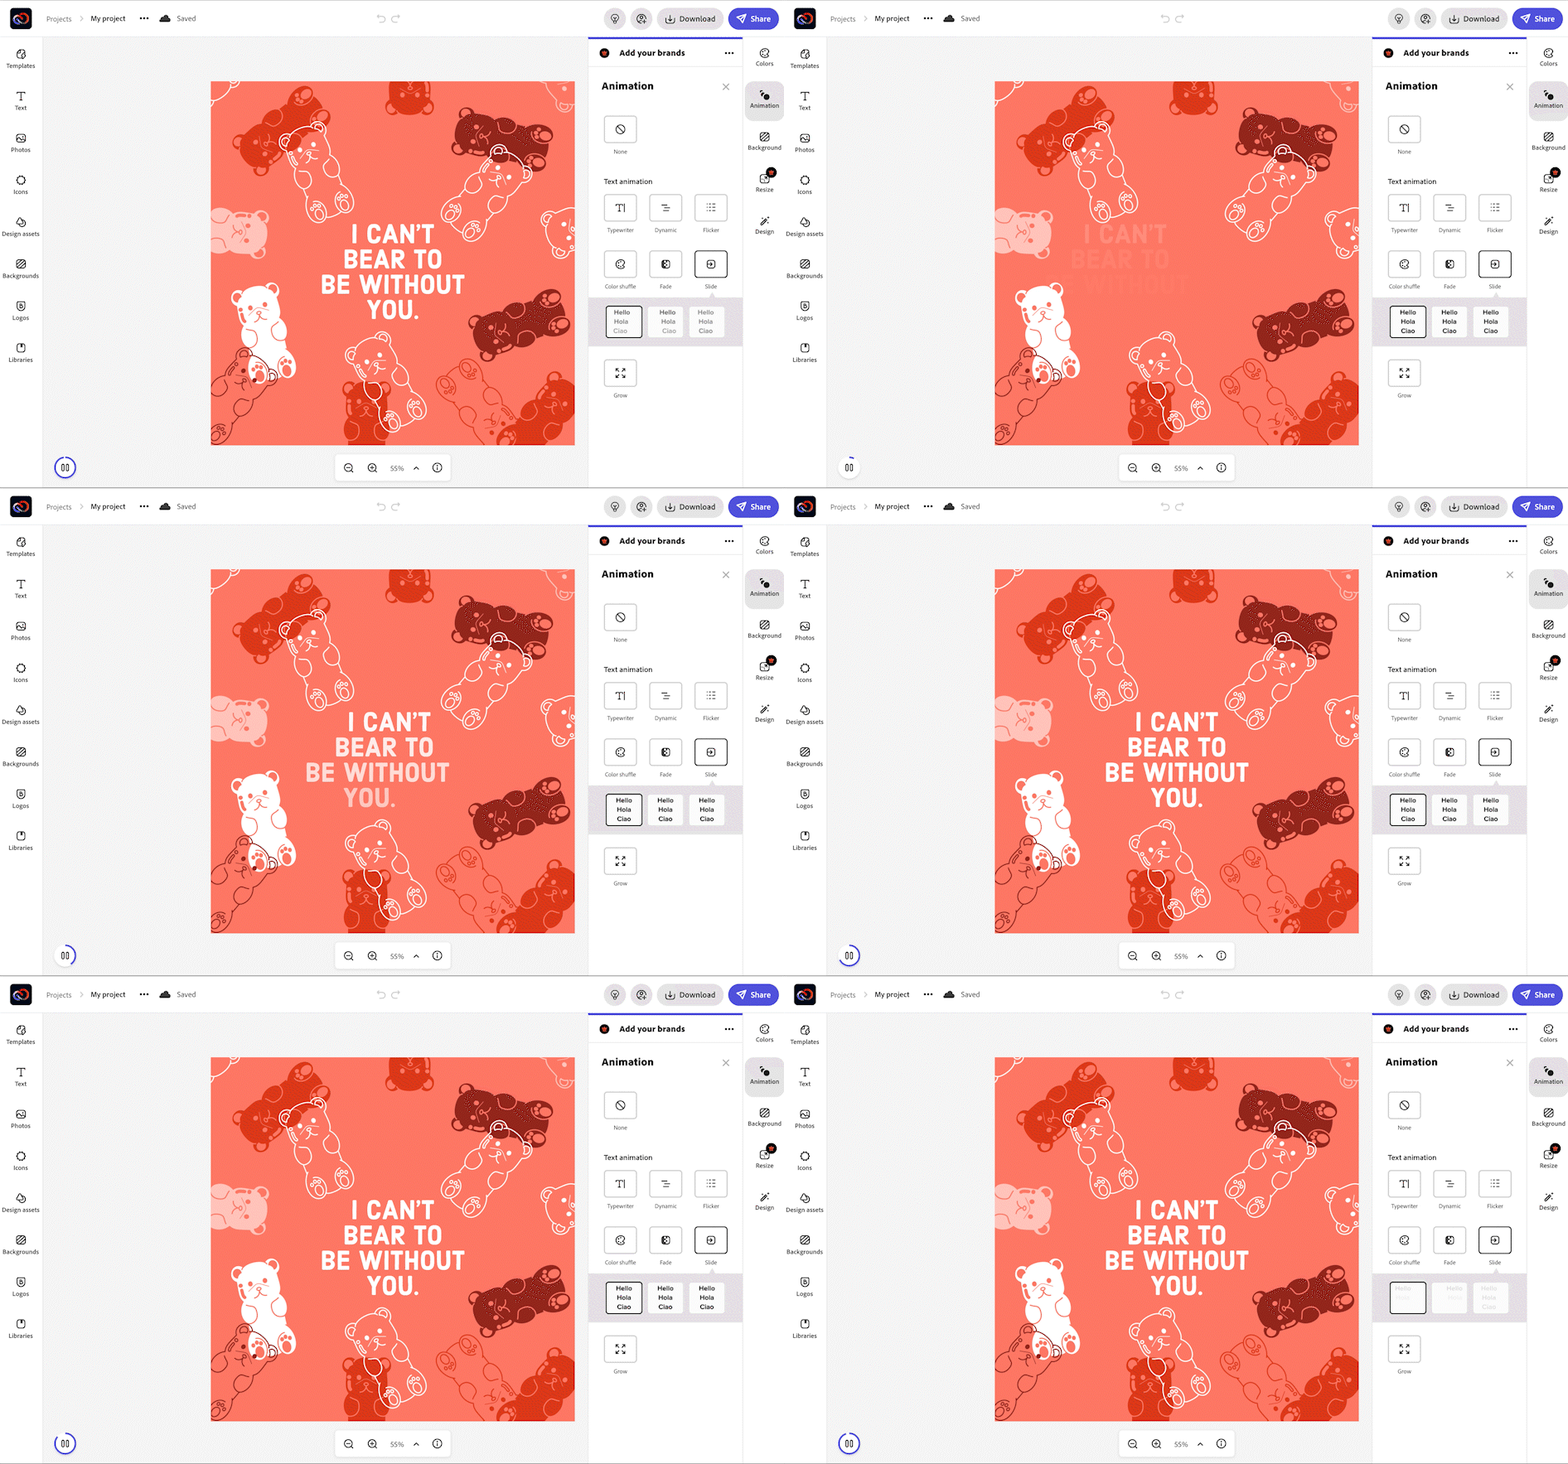
Want to add even more of a flare? Clicking “Animations” on the right-hand column will let you animate text with simple effects like fade-ins, flashy color-swaps, and swipe-in transitions. You can play these animations with the Play button in the lower left corner, and export your file as an MP4 video (perfect for social media GIF-making and more).
Limitless Possibilities: Create Your Own
Maybe pink hearts and handwritten cursive script is not your style. Create your own Valentine based on what makes your love unique – with millions of icons and the ability to endlessly mix-and-match elements and styles, take time to explore and create.
You can also look at other types of templates and graphic styles to “remix” them in your own unique way – rock posters? ’80s magazine covers? Find an aesthetic that speaks to you and make it your own in just a few keystrokes.
Share Your Iconic Valentine with Us!
Show us your creation by tagging us @nounproject on our Twitter or Instagram.
Looking for more easy DIY projects? Browse through more DIY tutorials on our blog.


